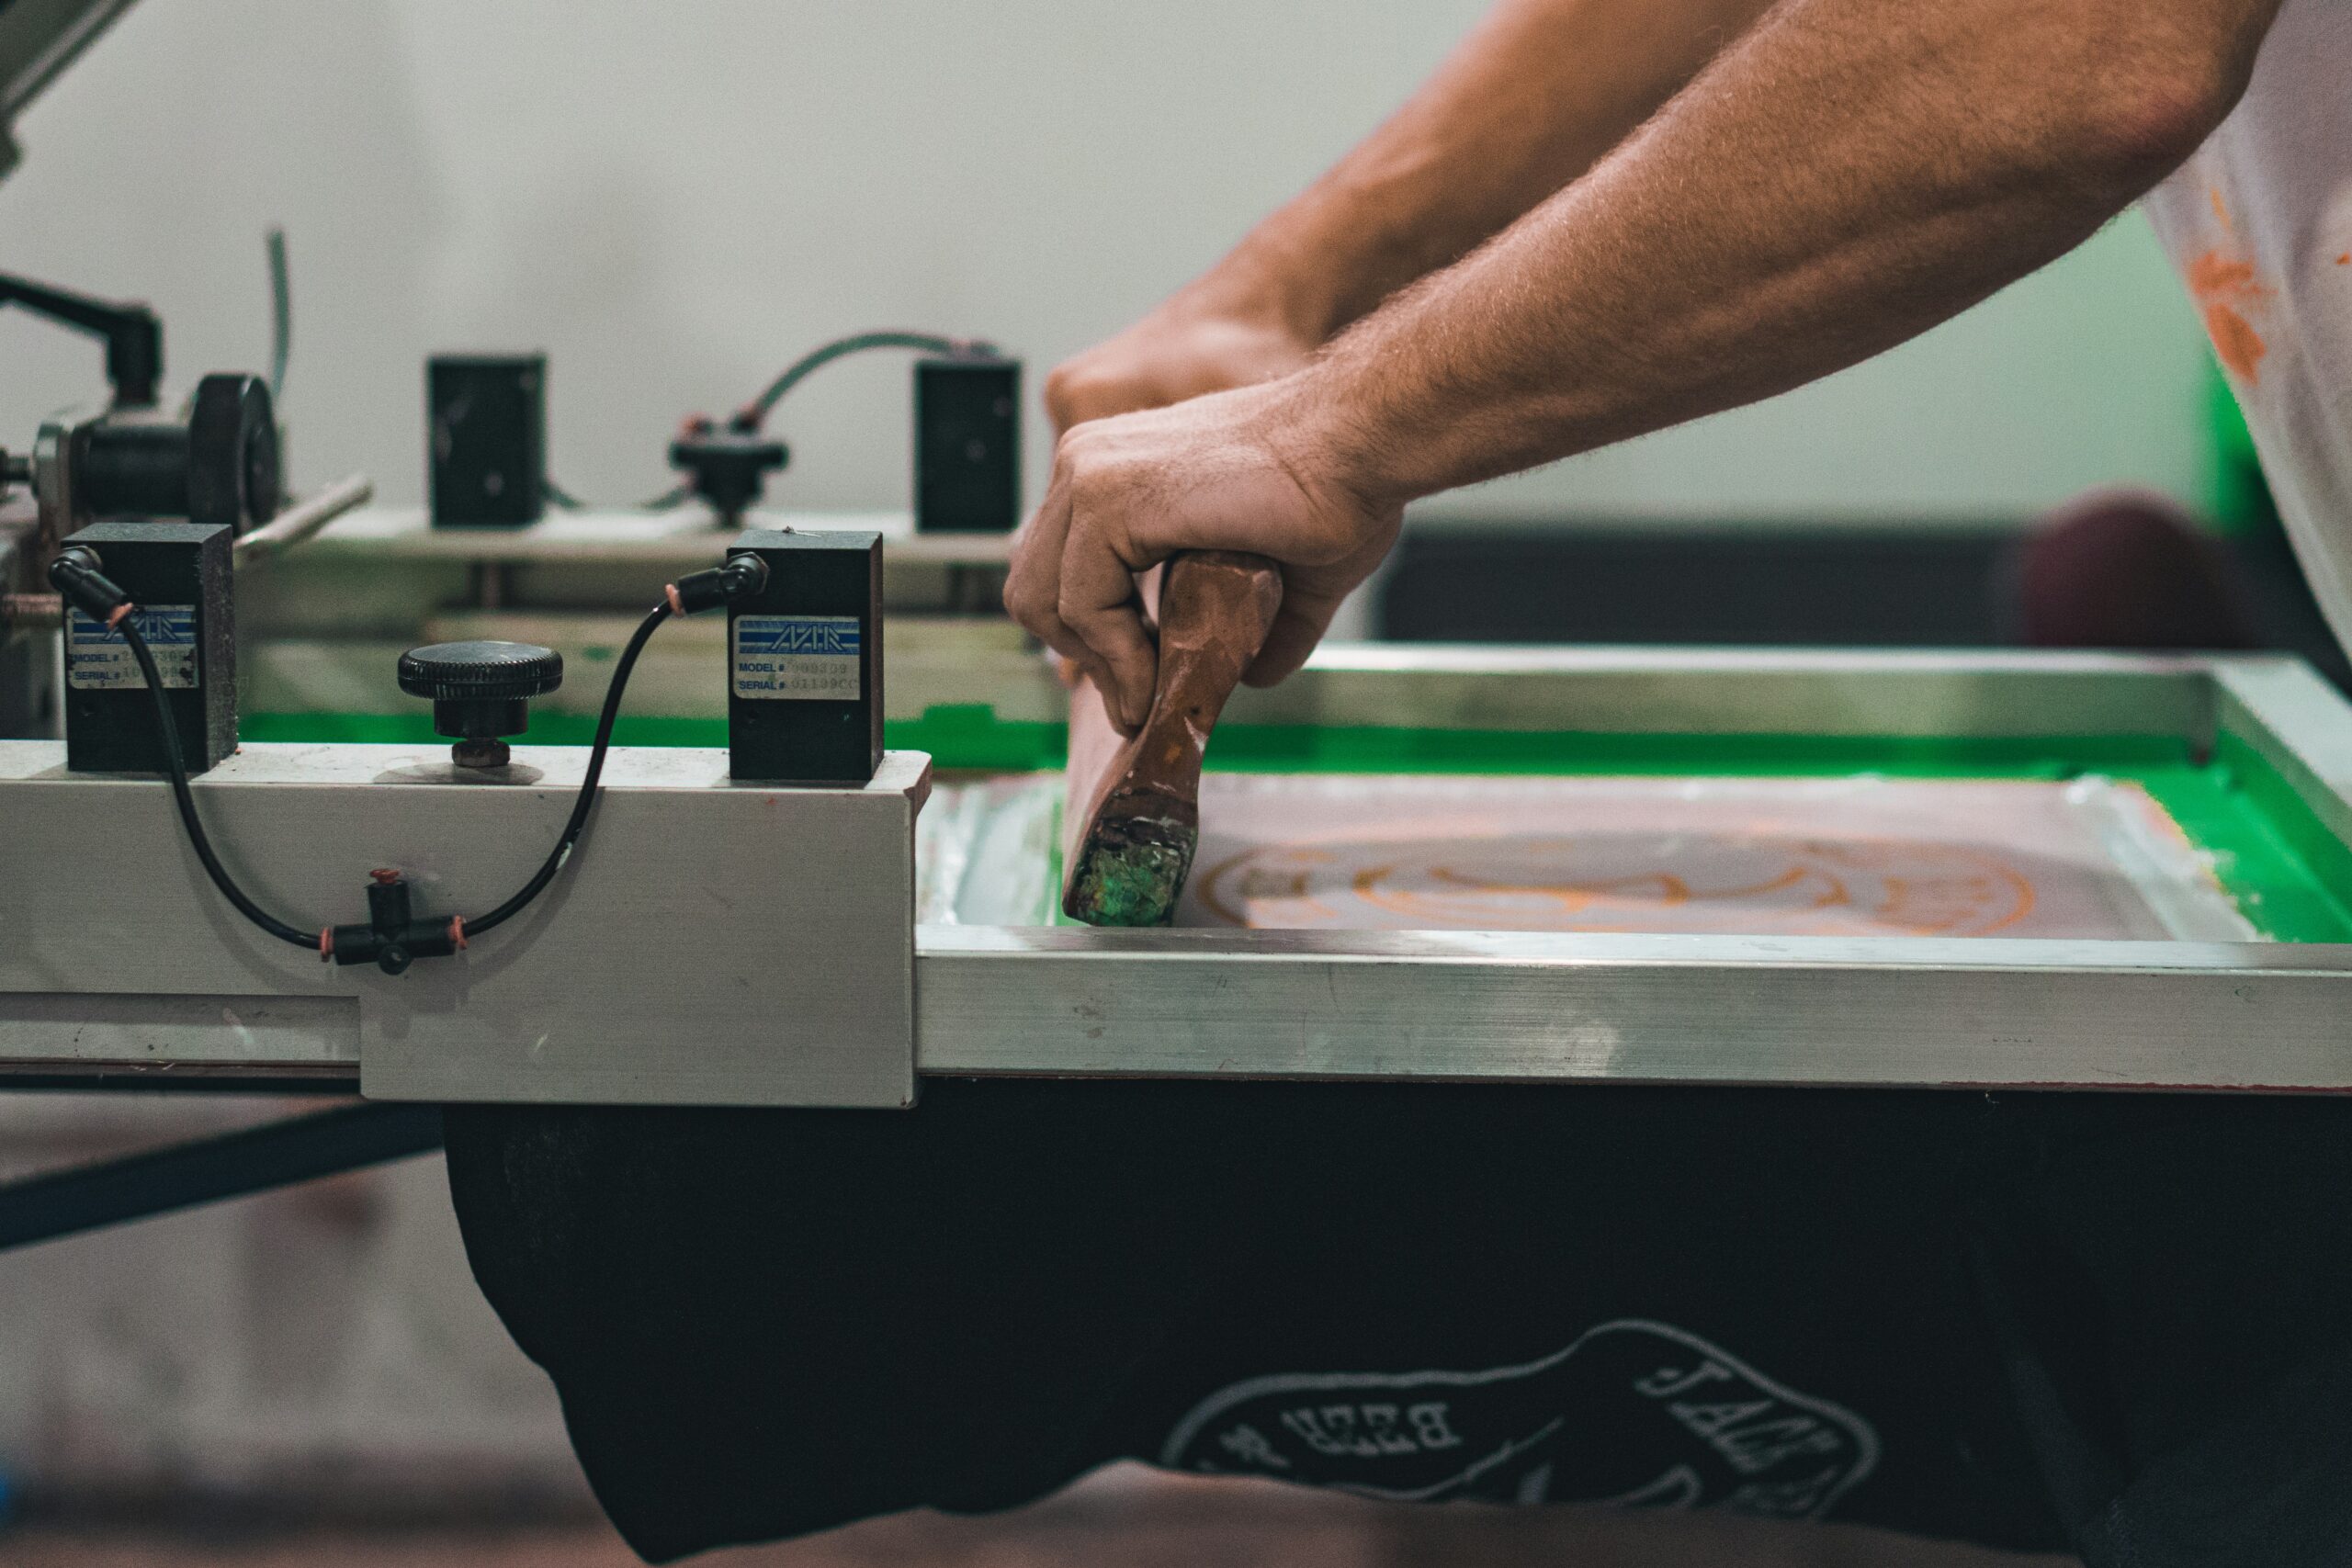
Once you’ve pulled your print, there’s one final step before you can wear your creation: curing the ink. Curing uses heat to set the ink into the fabric so it won’t crack or wash out. The great thing is, you don’t need crazy equipment to start, there are different heat sources for screen printing, and you can pick the one that fits your setup.
Here are three of the most common curing methods, starting with the simplest and moving up to professional gear:
Household Iron
For beginners, the household iron is often the best place to start. Almost everyone already has one, and it works especially well with water-based inks. To cure with an iron, simply place a sheet of parchment or baking paper over the print and press firmly for a few minutes.
The iron’s flat, steady heat helps ensure the ink bonds to the fabric. While you do need to move the iron in sections to cover the whole design, it’s reliable, budget-friendly, and perfect for small projects or practice runs.

How to cure a screen printed shirt with an iron
Step 1: Let your printed shirt air-dry completely. The ink surface should feel dry to the touch — not sticky or wet.
Step 2: Set your iron to the “cotton” or high-heat setting and turn off the steam function. You’ll need dry heat only.
Step 3: Lay the shirt on a flat, hard surface such as an ironing board or table.
Step 4: Place a sheet of parchment paper, Teflon sheet, or baking paper over the print to protect it from direct contact with the iron.
Step 5: Press the iron firmly onto one section of the print for about 10–15 seconds, applying even pressure.
Step 6: Move to the next section, slightly overlapping your previous area, until the whole design is covered.
Step 7: Let the print cool for 30 seconds, then remove the paper.
Step 8: Test the print by gently stretching or scratching it — if it cracks, peels, or feels tacky, repeat the process for a few more passes until it’s fully cured.
Recommended irons:
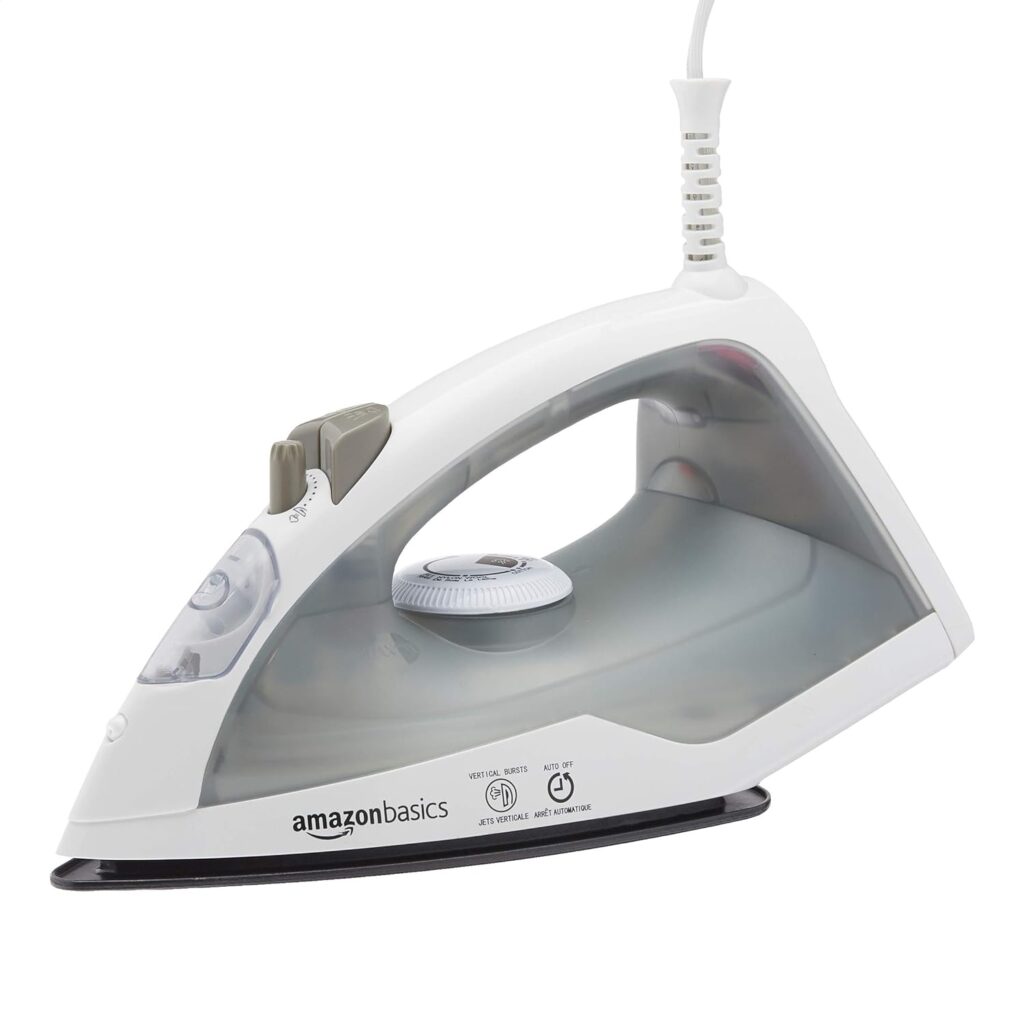
Amazon Basics 1200W 10” Steam Iron
With Non-Stick Teflon Soleplate, 5 Fl Oz Water Tank (150 ML), Auto Shut-Off, Anti-Drip, Anti-Calcification, Thermostat, 6.5Ft Cord, Gray
$19.76
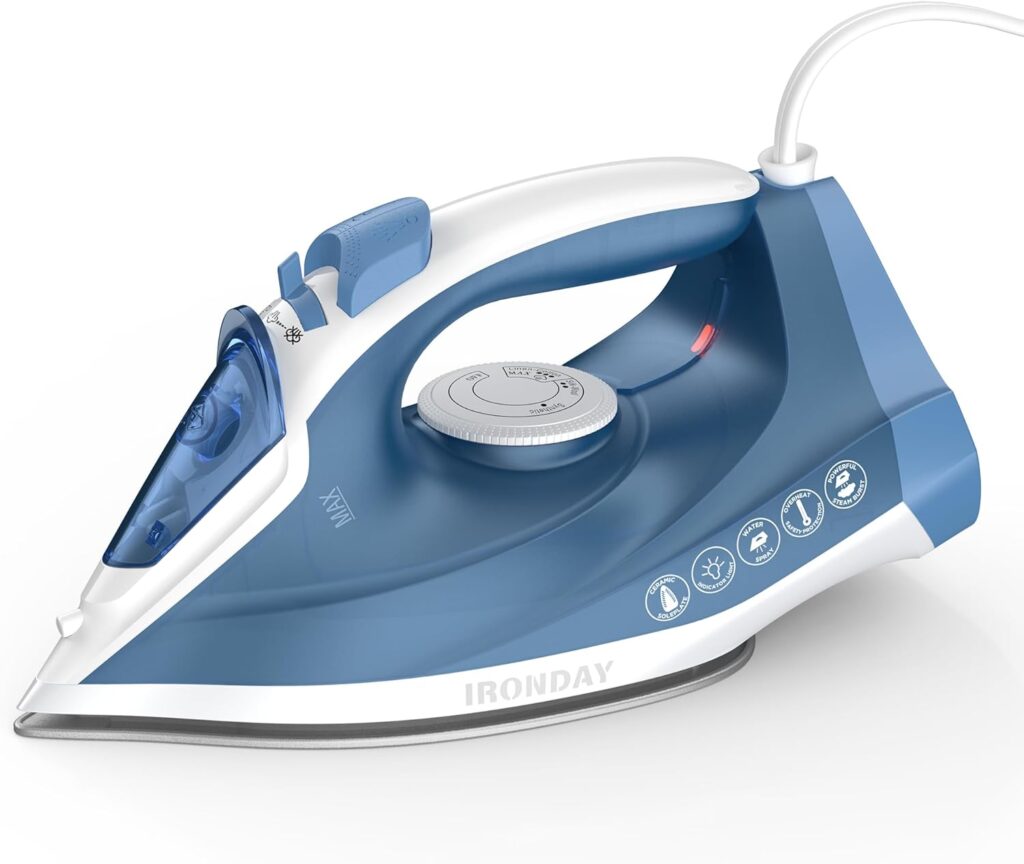
IRONDAY Steam Iron for Clothes Fast Heating
1200W Iron with Non-Stick Ceramic Soleplate, Self-Cleaning, Burst of Steam, Spray Mist, 7.03oz Water Tank Ironing Clothes for Home, Blue
$22.79
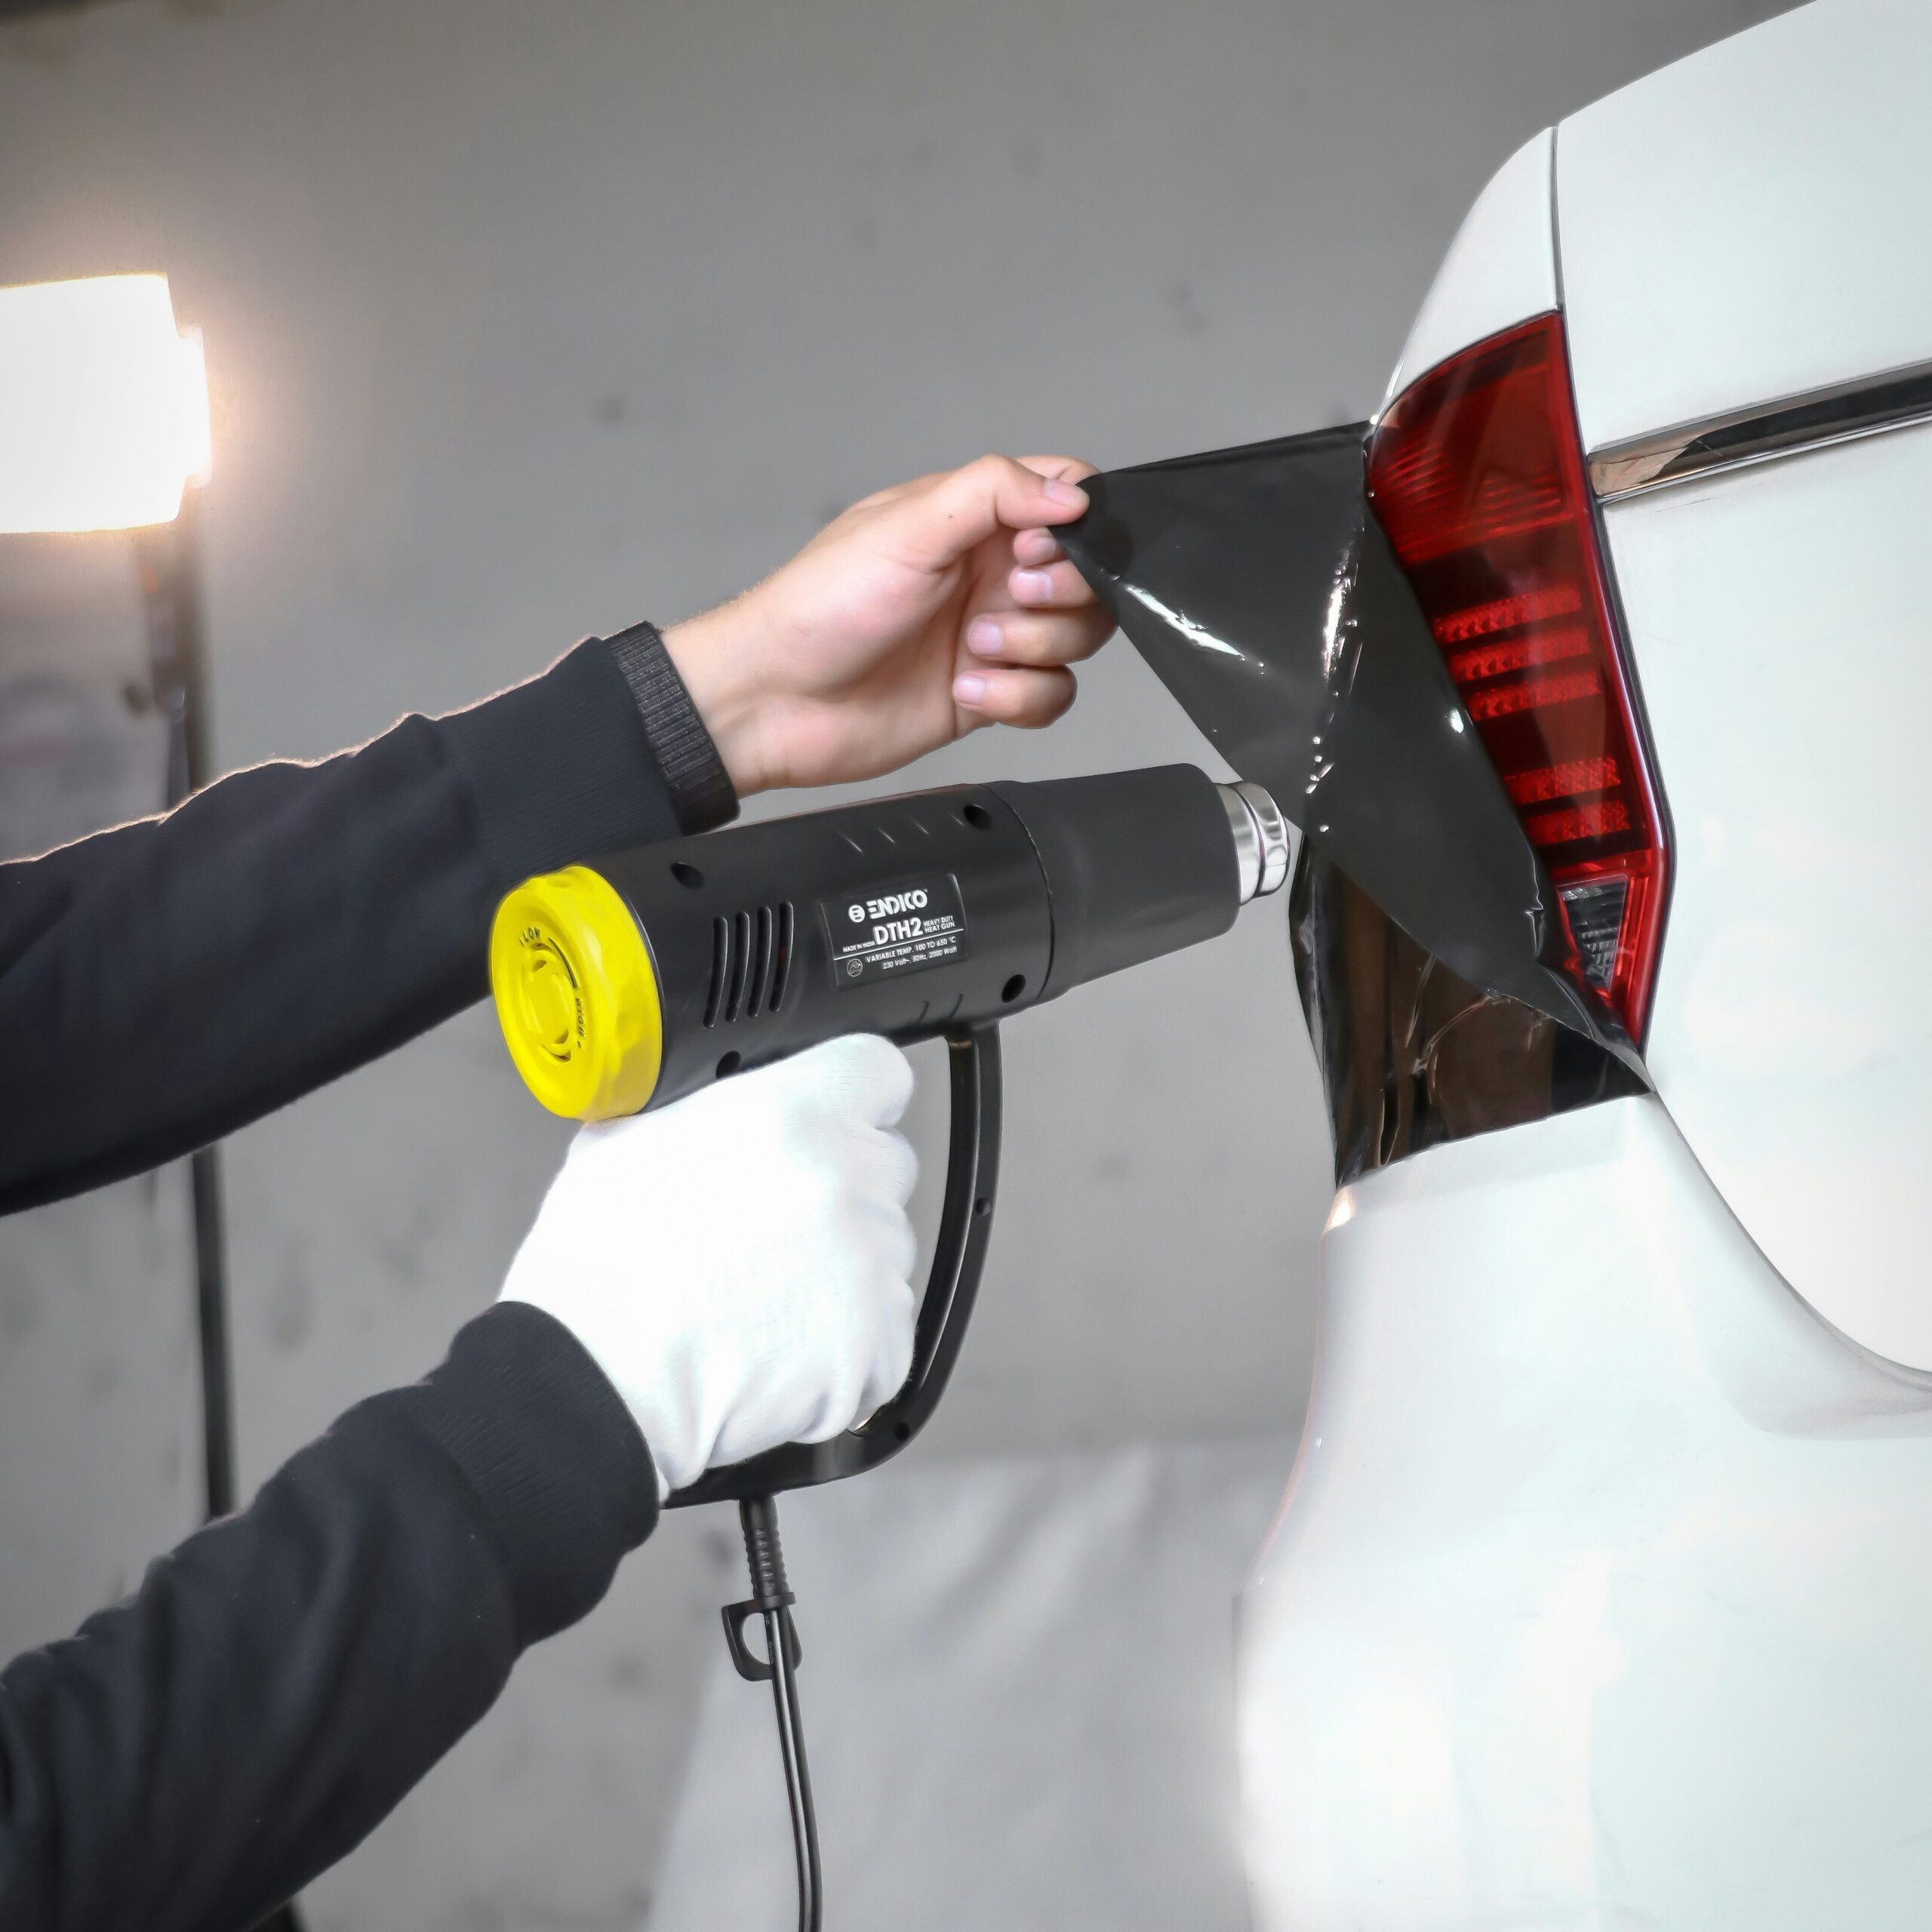
Heat Gun
A heat gun is another great option for home screen printing. It blows hot air directly onto your print and cures water-based inks quickly. Unlike an iron, it doesn’t press down on the fabric, which makes it especially useful if you’re experimenting with puff inks or textured prints, since you don’t want to flatten those effects.
The tradeoff is that heat guns require more attention. You’ll need to keep the gun moving to avoid under-curing spots. With practice, though, it’s a flexible and handy tool that’s easy to find at most hardware stores.
How to Cure a Screen-Printed Shirt with a Heat Gun
Step 1: Let the print air-dry completely first so the surface is no longer wet or tacky. This helps prevent the ink from bubbling or smudging when heated.
Step 2: Plug in your heat gun and set it to a medium-high temperature — around 150–170°C (300–340°F) for water-based inks, or 160–180°C (320–350°F) for plastisol.
Step 3: Hold the heat gun about 5–8 cm (2–3 inches) above the print. Keep it moving in slow, circular motions to distribute the heat evenly and avoid scorching the fabric.
Step 4: Continue heating each section for 30–60 seconds, depending on the ink type and thickness, until the print surface appears matte and dry (for water-based) or slightly glossy (for plastisol).
Step 5: Once the whole print has been heated evenly, allow the shirt to cool for a minute.
Step 6: Test the cure by gently stretching or scratching the print — it should stay flexible and not peel, crack, or feel sticky. If it fails the test, repeat another quick pass with the heat gun.
Recommended heat guns:
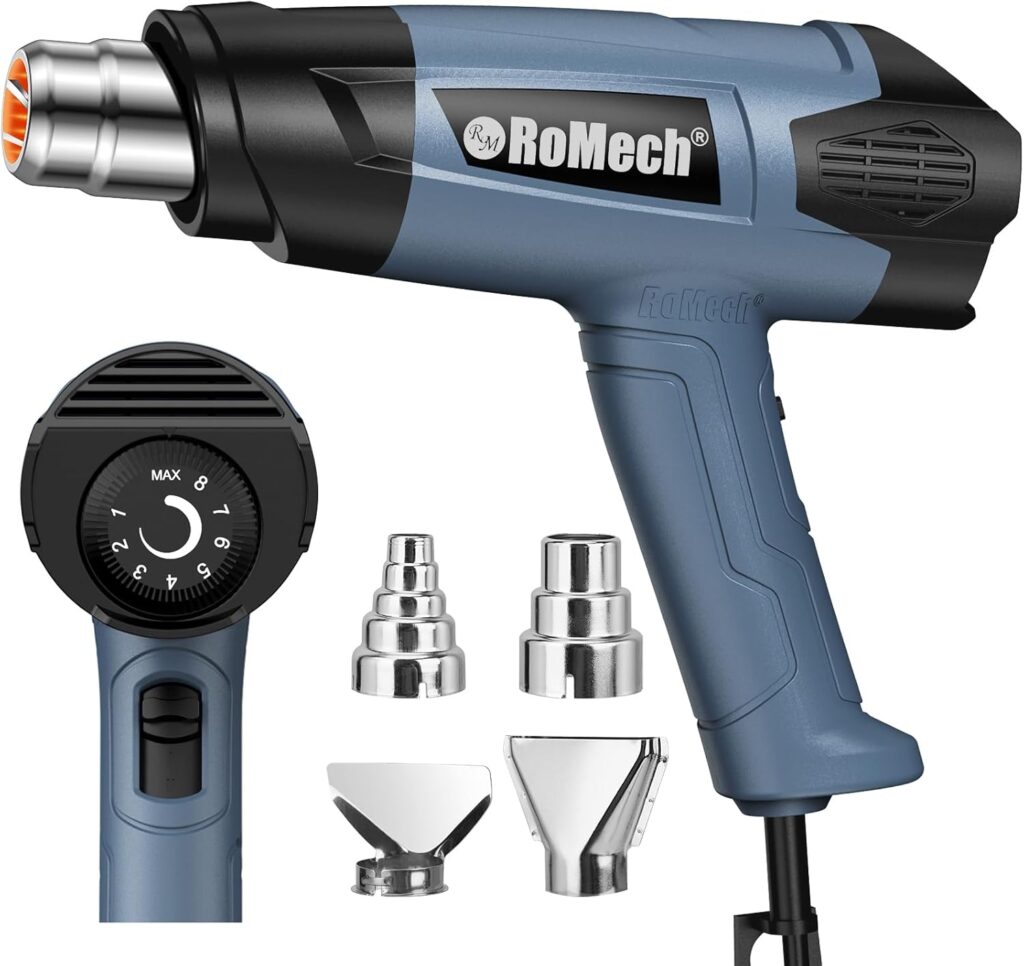
ROMECH 1500W Heavy Duty Heat Gun
Variable Temperature Control Hot Air Gun Kit with 2 Air Flow 120°F~1200°F and 4 Nozzles for Crafts Shrink Wrap (Blue)
$24.95
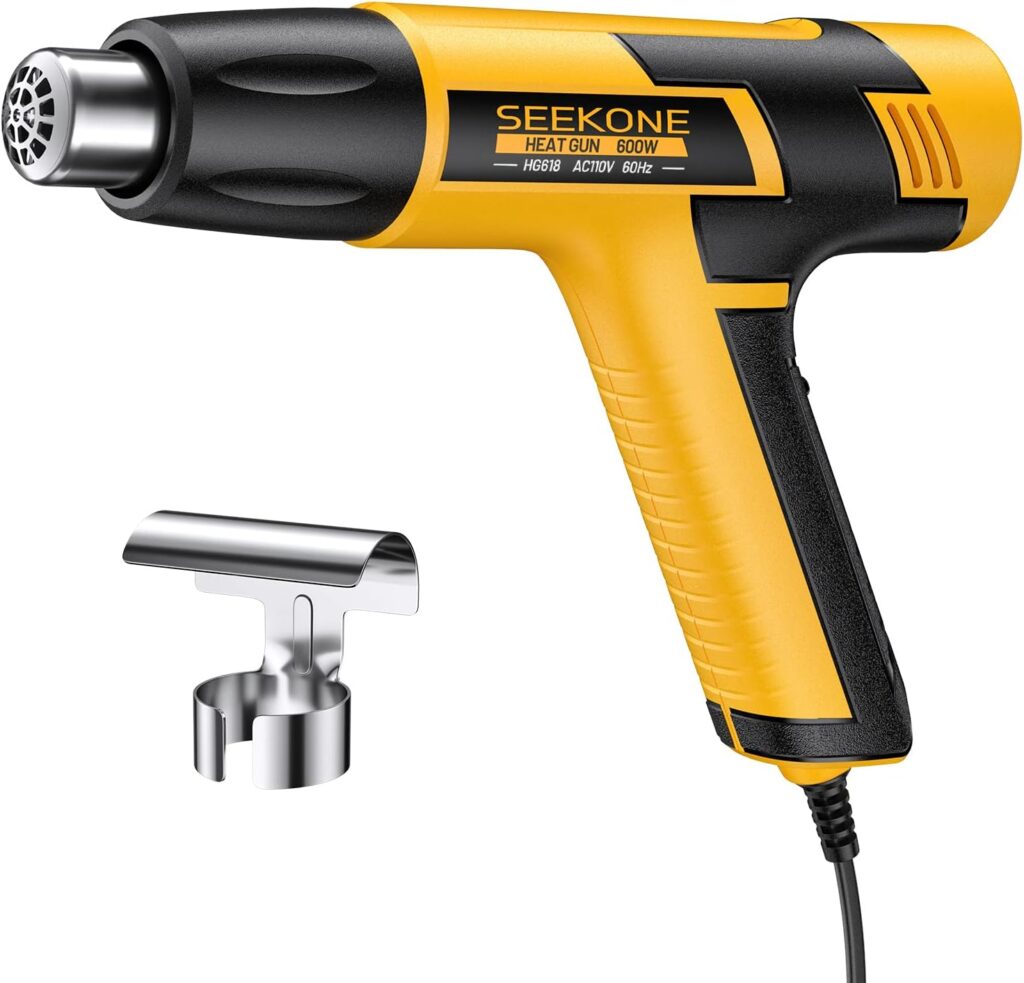
600W Dual Temperature Hot Air Gun Tool 572℉&932℉, With 4.9Ft Long Cable and Overheat Protection for Crafts, Embossing, Paint Stripping, Shrink Wrap, and Heat Shrink Tube
$16.99
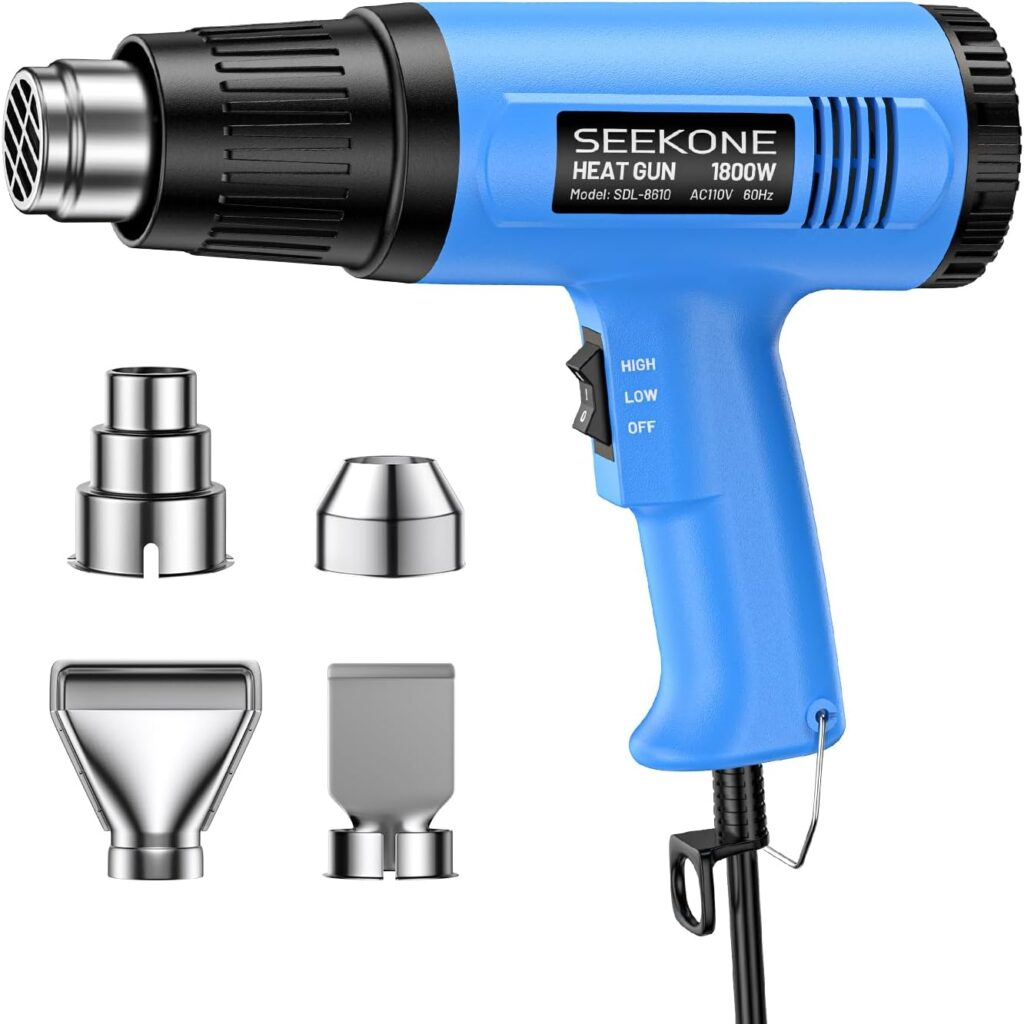
1800W Heavy Duty Hot Air Gun Kit Dual-temperature Setting 572℉&1112℉, Hot Heat Gun with Overheat Protection, 4 Nozzles Included, for Shrinking PVC
$18.99
Heat Press
When you’re ready to upgrade, a heat press is the gold standard for consistent results. It applies both heat and pressure evenly across the entire design, making curing almost foolproof. This means sharper, longer-lasting prints without the trial and error of a heat gun or iron.
A heat press also doubles for other custom work like vinyl transfers, so it’s a solid investment if you’re planning to sell your screen-printed products. The only downsides are cost and space, but if you’re printing regularly, the efficiency and quality are worth it.
How to cure a screen printed shirt with a heat press
Step 1: Allow the print to air-dry completely before pressing. The surface should feel dry — not wet or tacky — to prevent smudging.
Step 2: Turn on your heat press and set the correct temperature for your ink type:
- Water-based ink: 150–160°C (300–320°F)
- Plastisol ink: 160–170°C (320–340°F)
Step 3: Set the timer for about 10–20 seconds and adjust the pressure to medium-firm.
Step 4: Place the shirt on the press with the print facing up, and cover it with parchment paper, a Teflon sheet, or baking paper to protect the design.
Step 5: Lower the press and apply heat and pressure for the full time. Make sure not to move it during curing.
Step 6: When the timer ends, lift the press carefully and allow the shirt to cool for 30–60 seconds.
Step 7: Check the cure by gently stretching or scratching the print — it should remain smooth, flexible, and not peel or crack. If it feels sticky, repeat pressing for another 5–10 seconds.
Recommended heat presses:
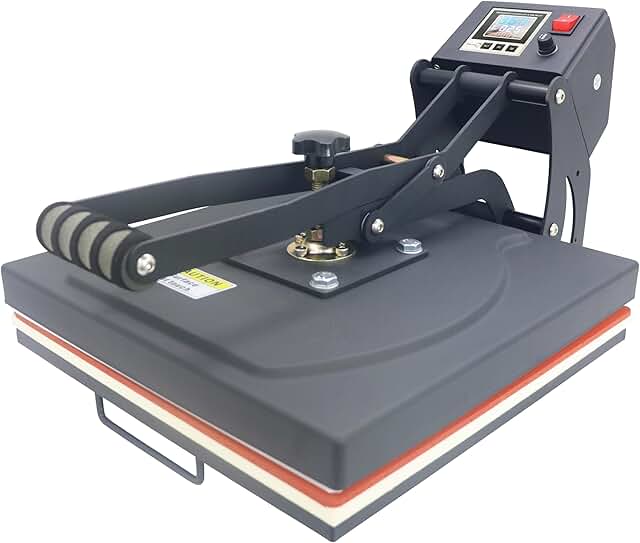
Color LED Industrial-Quality Digital Sublimation Heat Transfer Machine T-Shirt Heat Press Machine, 15″ x 15″, Black
$179.99

Fancierstudio Digital Heat Press 15 x 15
Sublimation Rhinestone Heat T-Shirt Machine15x15 B/BLK. .
$174.99

Delclynee 15″ x 15″ Slide Out Heat Press Machine
or T-Shirts, Clamshell Pull Out Lower Platen, Industrial-Quality Digital Sublimation Printer for Heat Transfer Vinyl
$169.99
Final Thoughts & Tips:
Curing is what makes your prints last. Beginners can start with a household iron for reliable results, try a heat gun for more flexibility (and fun with puff inks), and move up to a heat press once they’re ready for professional consistency. No matter which option you choose, the key is giving your ink the heat it needs to bond fully with the fabric.
And rememeber: Most of the time, you can find on the label of the ink you’re using what’s the time, temperature, or even tool you need for the best results.
OMG YOU DID IT! YOU JUST FINISHED YOUR FIRST PRINT!
Now if Smudge missed anything and you got stuck, no worries, we have a Troubleshooting page for that as well as a FAQ waiting for you!
To many more!