Turning Emulsion Into Your Screen’s Best Friend
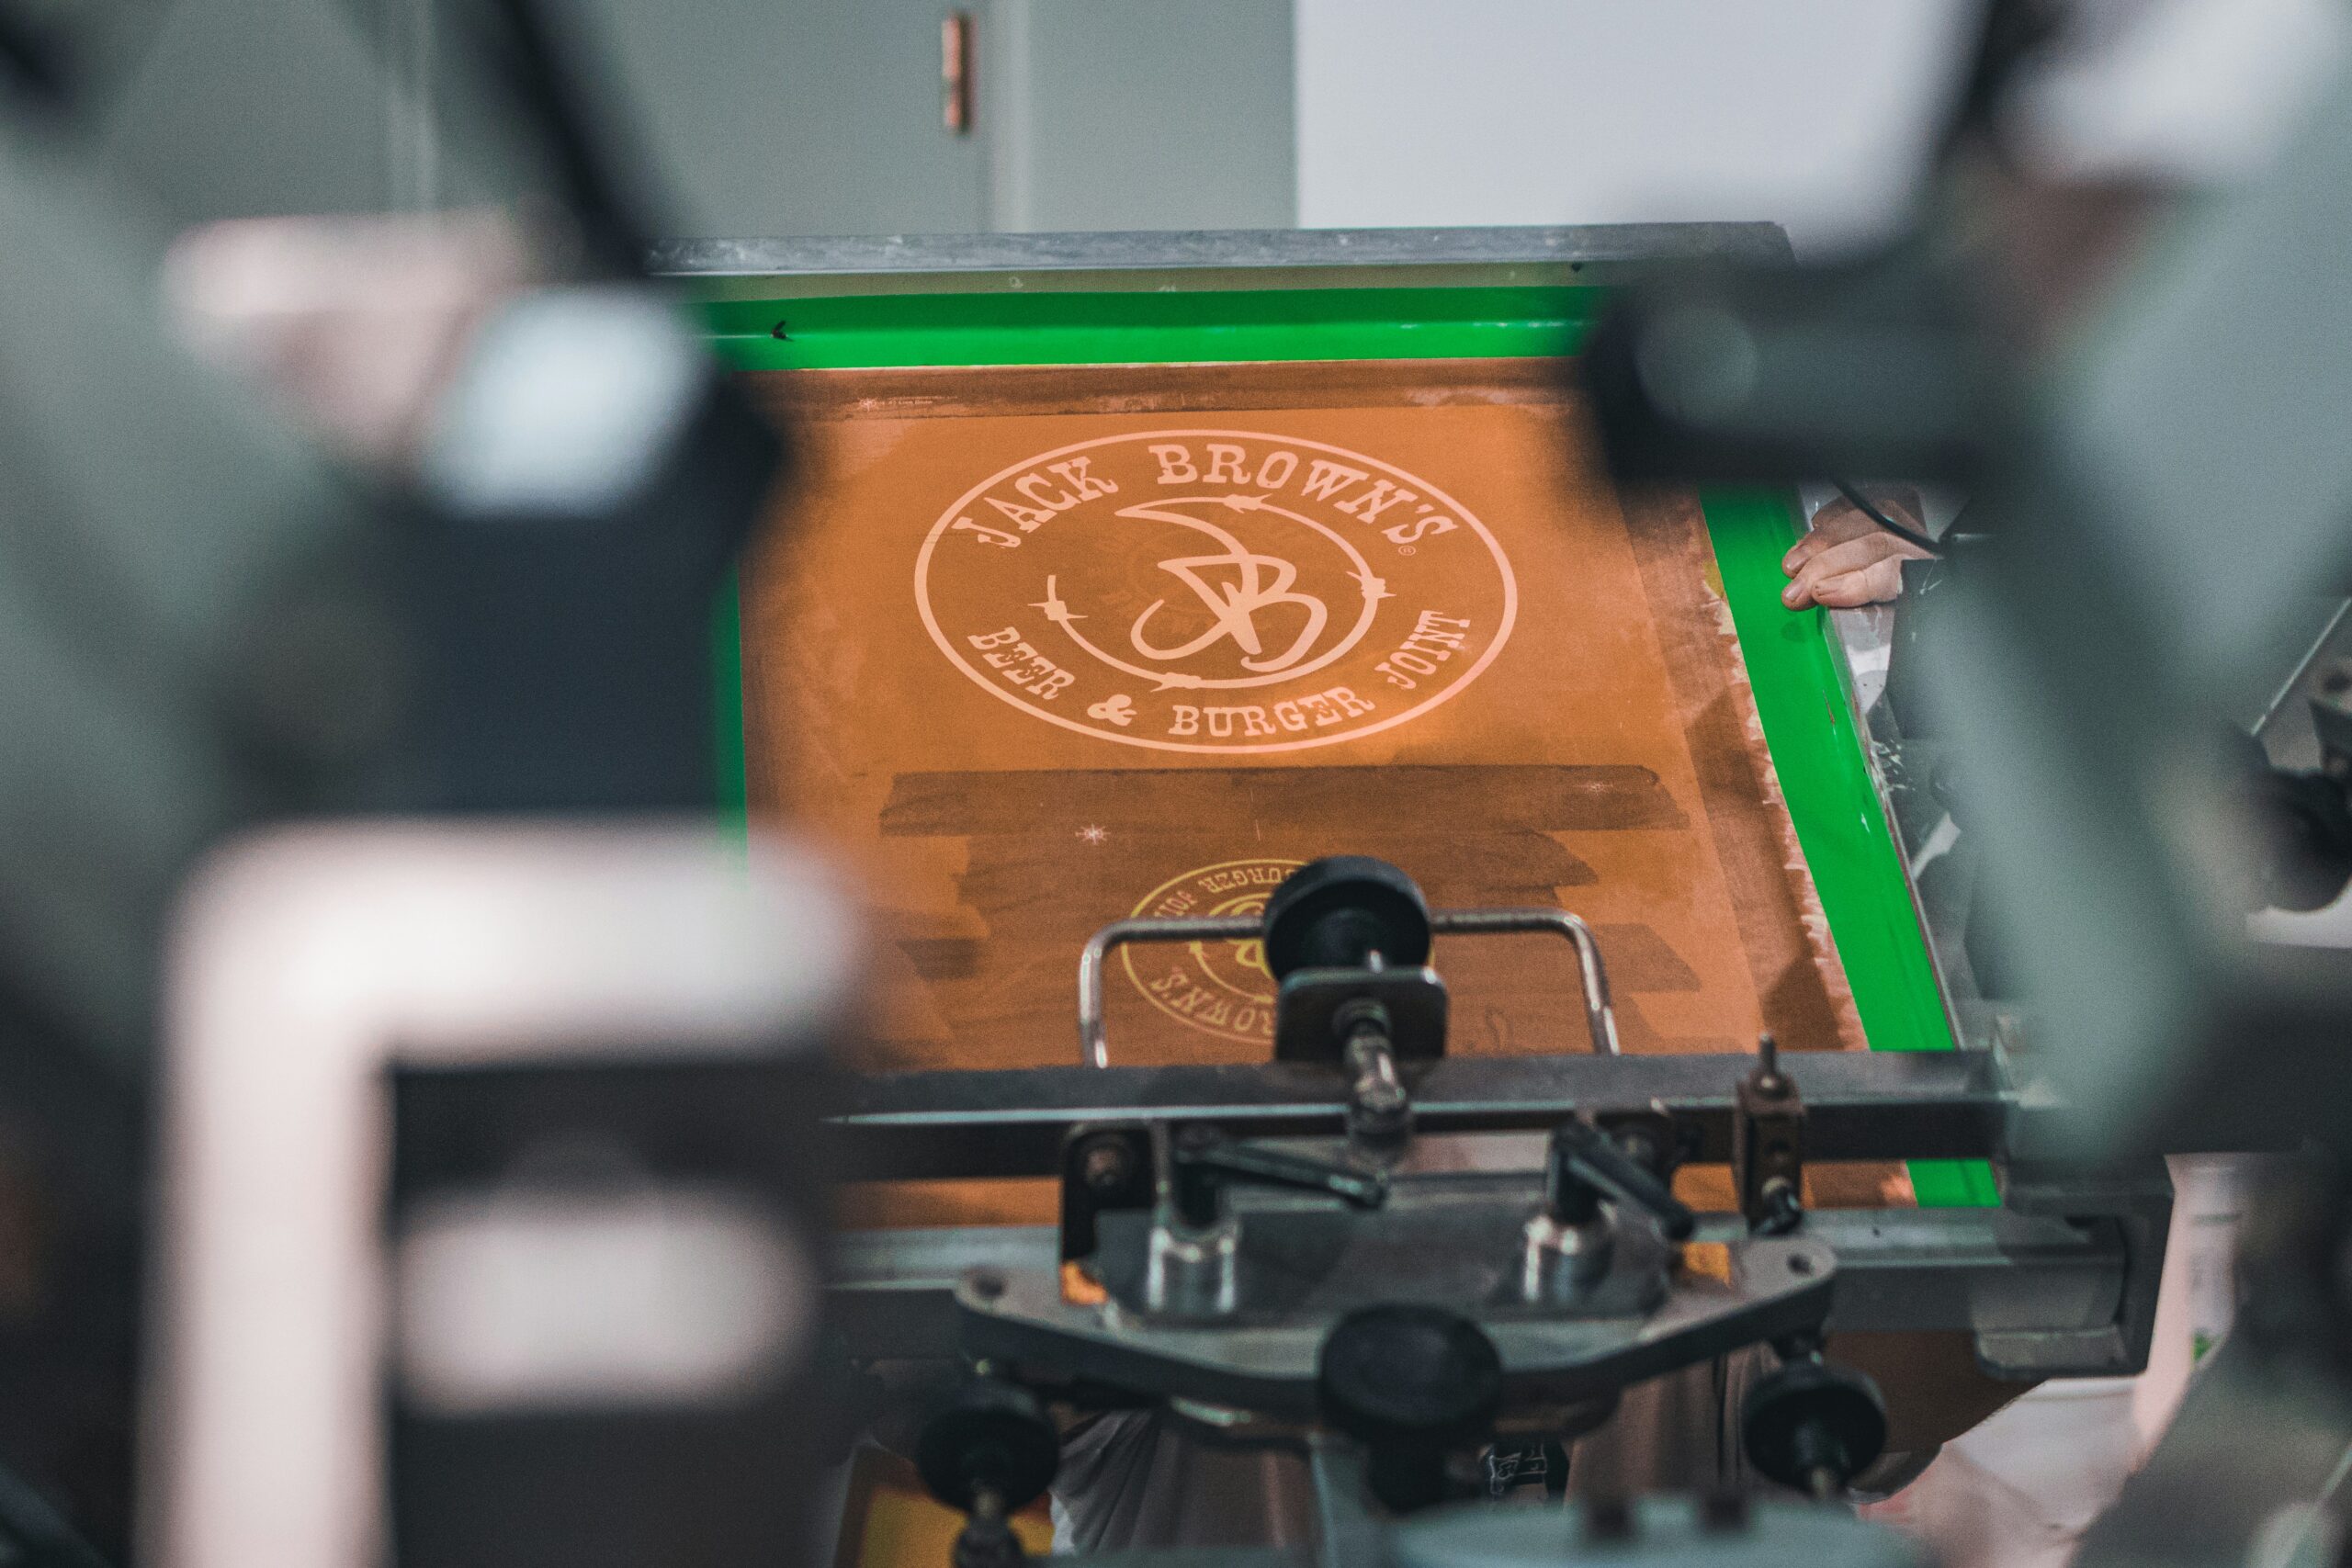
Once your artwork is printed on a transparency, it’s time to transfer it onto your screen, and this is where emulsion comes in. Emulsion is a light-sensitive liquid that hardens when exposed to UV light, creating a stencil that your ink will pass through later.
Applying it evenly is the key to a clean, detailed print. You’ll need your screen, a coating trough, and a good-quality emulsion that reacts smoothly to light exposure.
Visual learner? Click for a tutorial!
Recommended emulsions:
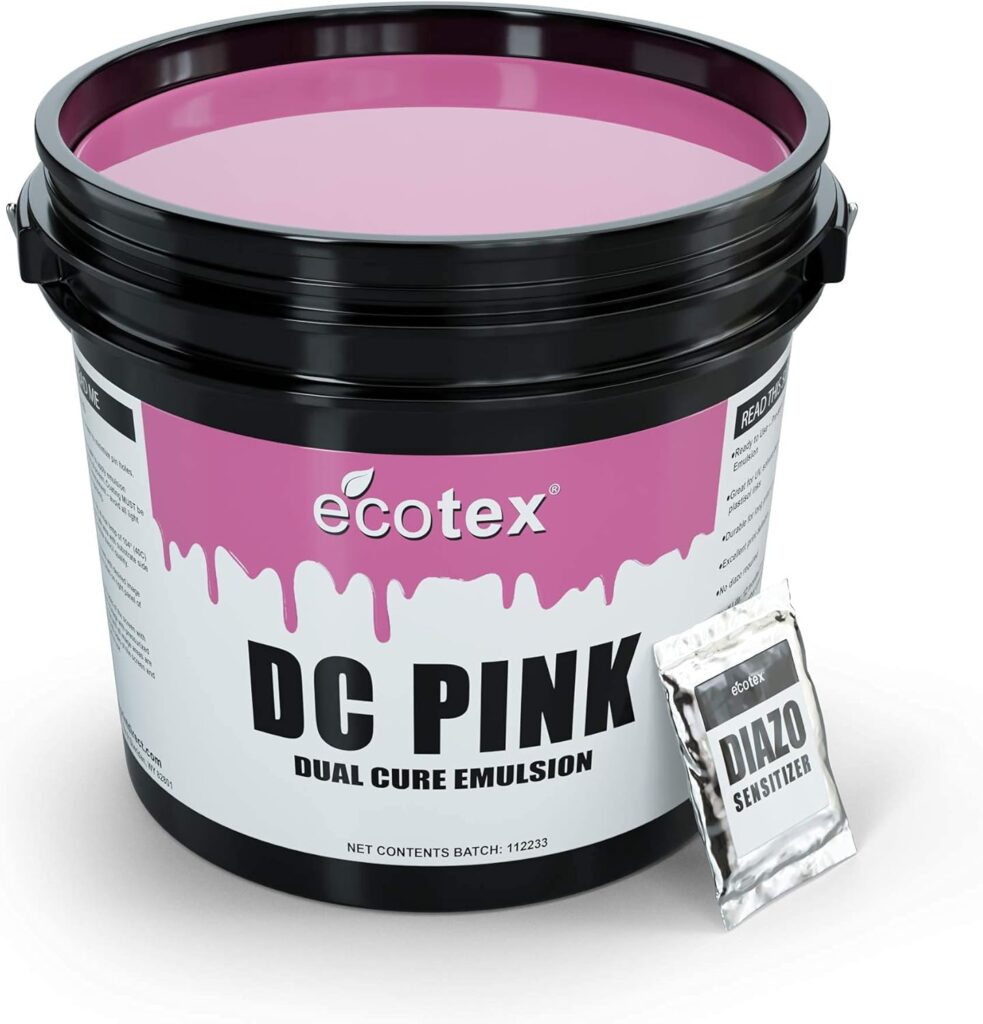
Ecotex DC Pink Screen Printing Emulsion
(Pint – 16oz.) – Diazo Required Photo Emulsion for Silk Screens and Fabric – For Plastisol and Water Based Ink, Printing Supplies
$34.93
Ecotex® PWR Screen Printing Emulsion
(Pint – 16oz.) Pre – Sensitized Photo Emulsion for Silk Screens and Fabric – for Screen Printing Plastisol Ink and Water Based Ink, Screen Printing Supplies
$30.22
Ecotex® Tex-Blue Screen Printing Emulsion
(Pint – 16oz.) Pre-Sensitized Photo Emulsion for Silk Screens and Fabric – for Screen Printing Plastisol Inks, Pure Photopolymer Screen Printing Supplies
$32.43
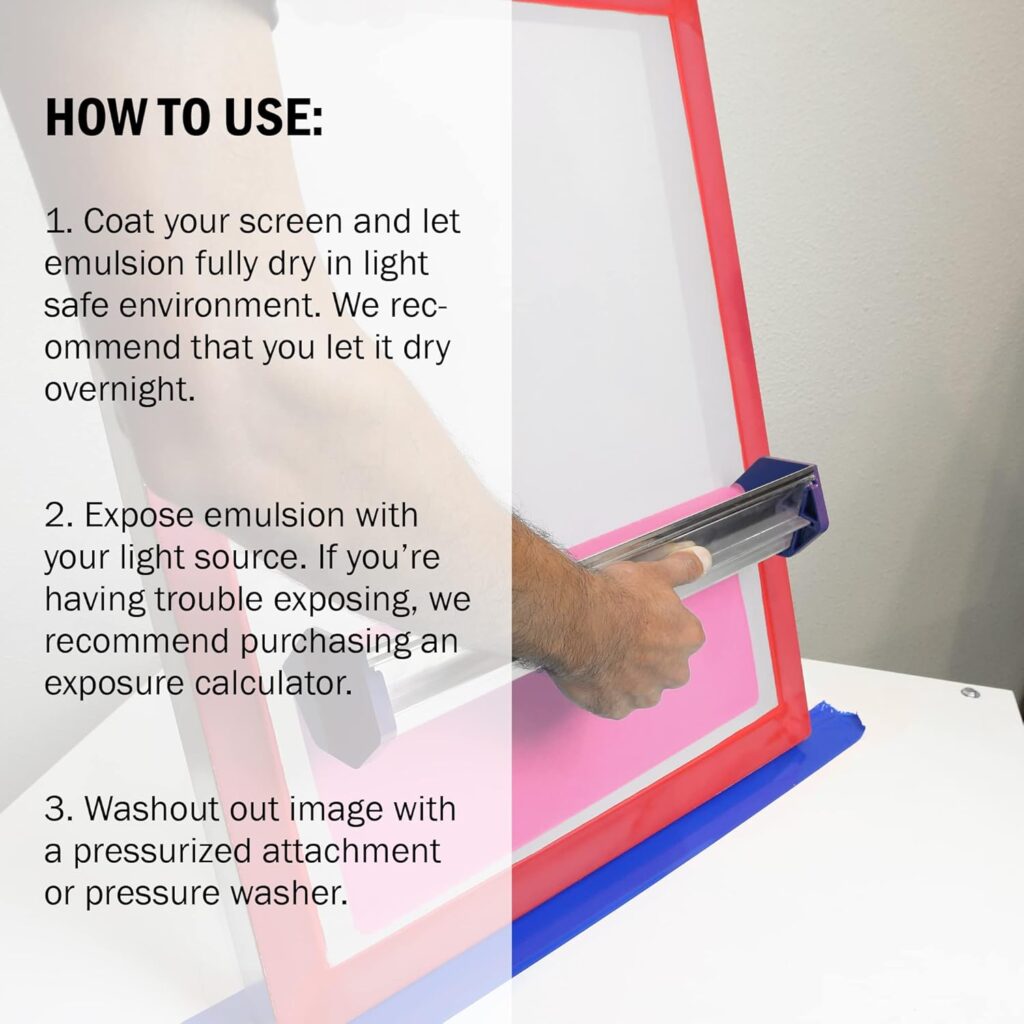
Applying Emulsion Correctly
Pour a small amount of emulsion into your coating trough
Hold your screen upright and tilt the trough at a 45° angle. Pull the emulsion upward in one smooth motion to spread it evenly, then repeat on the other side.
Let your screen dry in a dark, dust-free room, a simple box, closet, or drying rack works fine. Keep it flat and face-down to prevent drips. Drying usually takes a few hours depending on humidity.
Exposing the Screen
Exposure is where your artwork becomes part of the screen. You’ll need your transparency, your UV light source, and a stable surface.
Place your printed transparency directly on top of the emulsion-coated side of your screen and lay a sheet of glass or plexiglass on top to hold it flat.
Understanding Exposure Time & Distance in Screen Printing
When you’re exposing your screen, light intensity, distance, and time all determine how well your stencil develops. If it’s off, your design might not show up clearly, so here’s a breakdown made simple
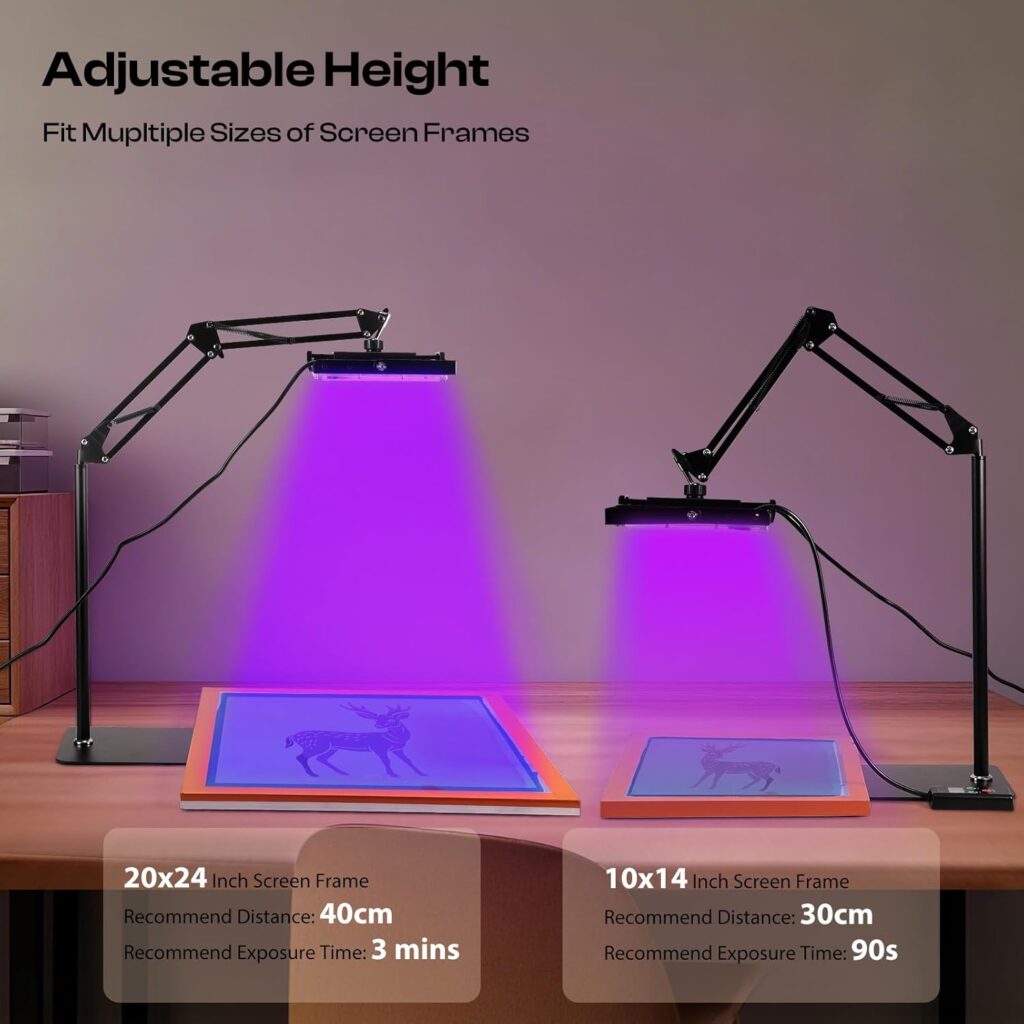
Exposure Distance
The closer your light source is, the stronger the light intensity, and the shorter the exposure time needs to be. The farther away, the longer you’ll need to expose.
For a 50W LED UV lamp, here’s a good starting point:
- Distance: about 30–40 cm (12–16 inches) above the screen.
- Angle: aim directly at the center, keeping light evenly spread.
- Environment: use a dark room — block all other light sources to prevent unwanted exposure.
TIp: If your UV light is adjustable, use a slightly closer distance (25–30 cm) for small designs and a wider one (40–50 cm) for larger screens.
Exposure Time
There’s no universal time, it depends on your emulsion, lamp power, and distance, but here’s a tested range for home setups using pre-sensitized emulsions:
| Light source | Distance | Exposure time |
|---|---|---|
| 50W UV LED | 20–25 cm | 60–90 seconds |
| 100W UV LED | 30–35 cm | 40–70 seconds |
| Household Halogen Work Light 250 W | 25-30 cm | 8–12 minutes |
How to test exposure:
- Cut a small test strip of your screen.
- Place a printed transparency over it.
- Expose in 1-minute increments, covering parts as you go.
- Wash it out and see which section gives the cleanest edges: that’s your perfect time.
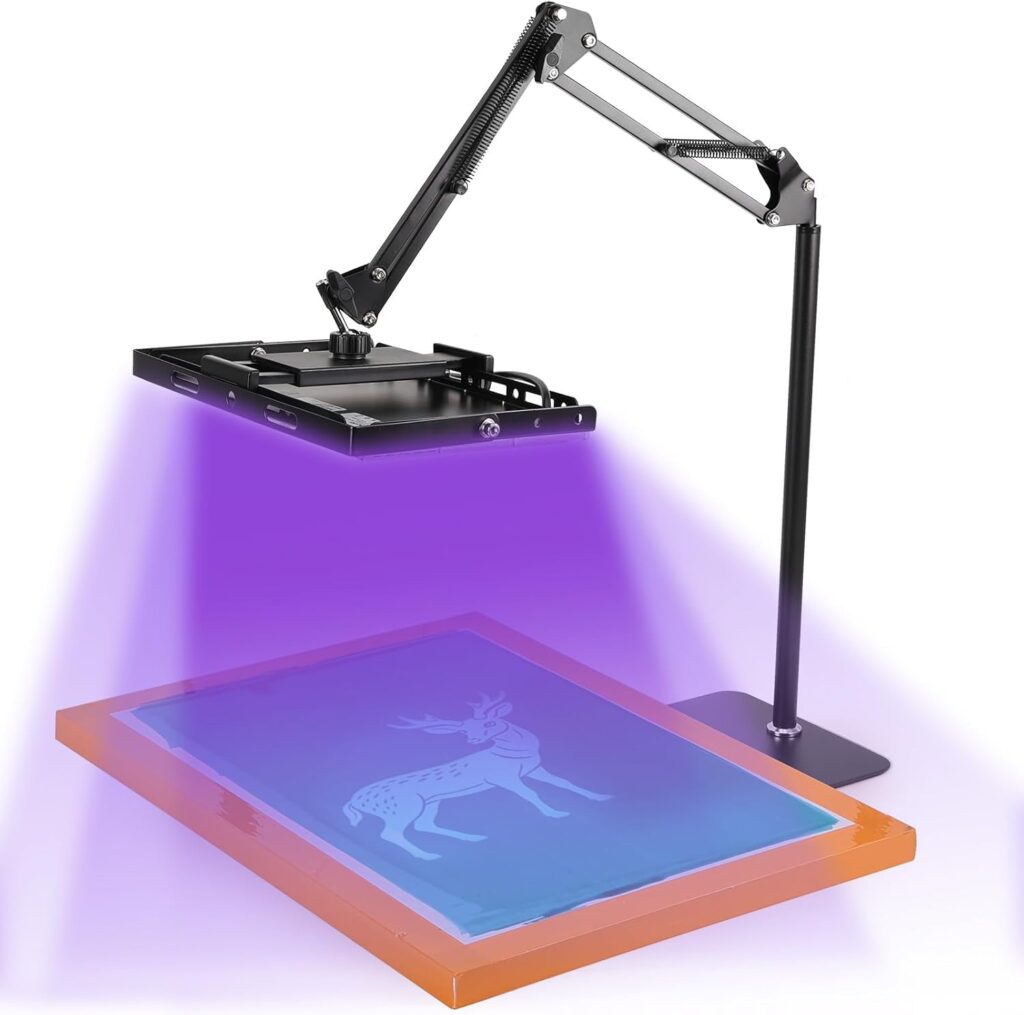
Recommended UV Lights:
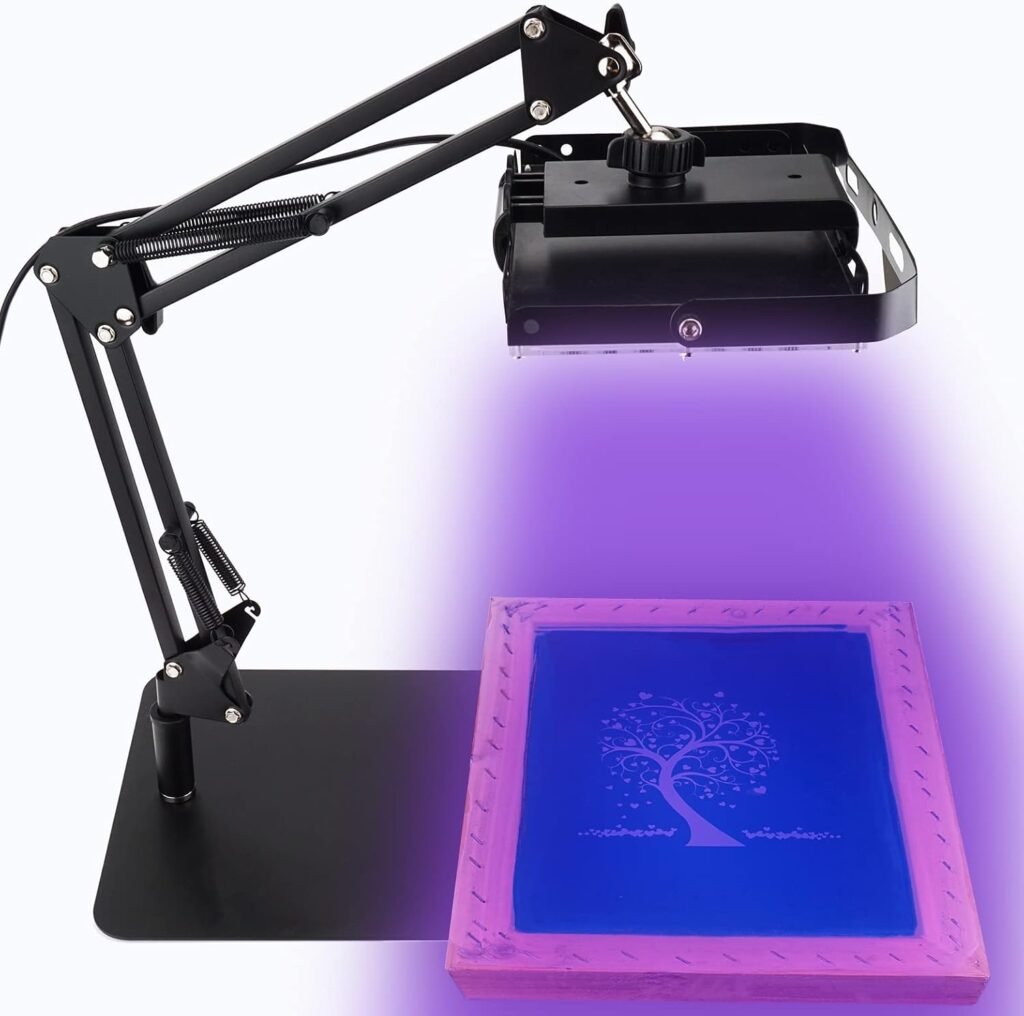
Dorhui 50W LED Exposure Unit for Screen Printing
UV Screen Printing Exposure Light and Light Stand for Screen Printing Kit Photo Emulsion Kit
$32.99
Caydo 100W LED Exposure Unit for Screen Printing
UV Screen Printing Light with Adjustable Stand and Timing Device for Screen Printing
$74.22
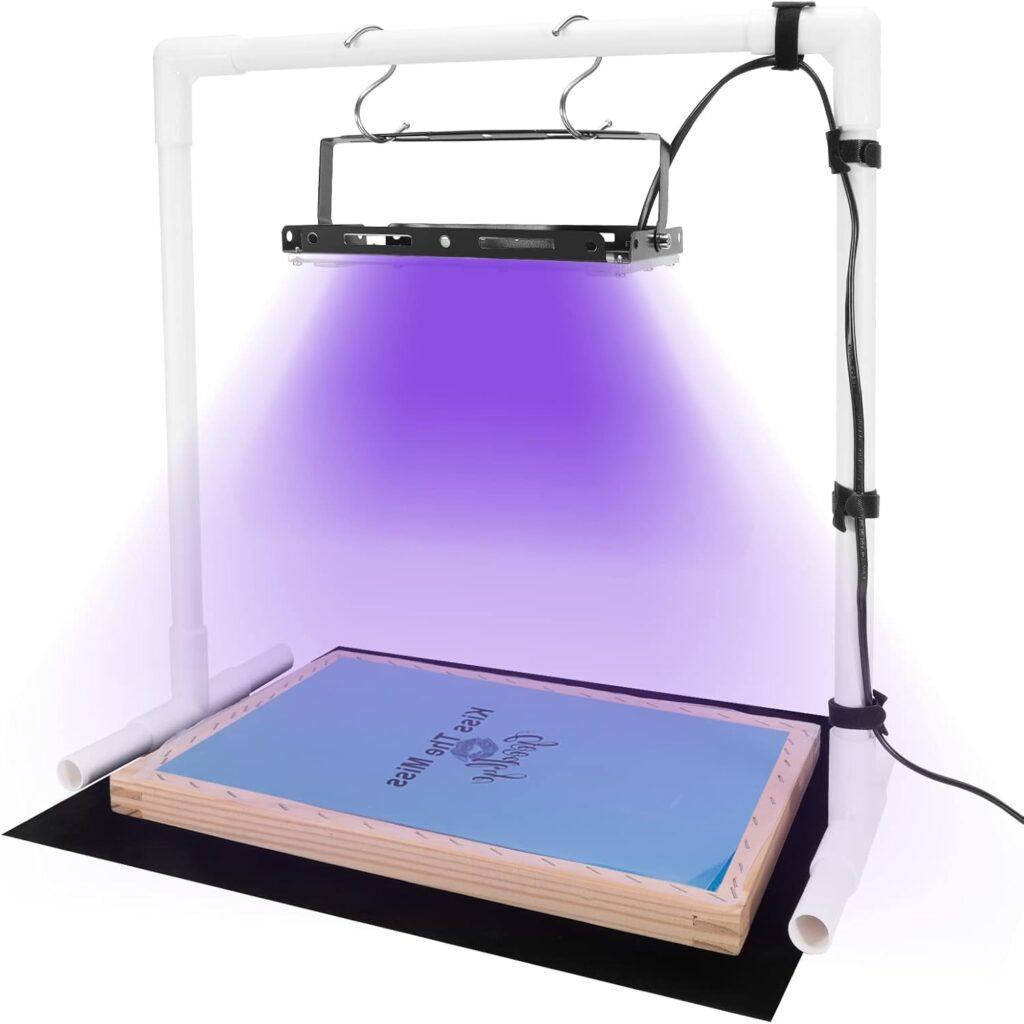
Caydo 50W LED UV Screen Printing Light
with Light Stand and Black Fabric, Cable Tie, Exposure Unit for Screen Printing and Cyanotypes
$29.99
Once your screen is fully exposed, rinsed, and dry, you’ve officially created your stencil, the blueprint for your print. The next step is where the fun really starts: loading up your screen with ink and learning how to print. Give Smudge a click to see where the design finally comes to life on fabric.