What exactly do you need?
When you’re just starting out with screen printing, figuring out exactly what you need can be confusing. Starter kits often promise “everything in one box,” but they almost always leave something out. That’s why I’ve put together this list of the 11 essential tools for screen printing at home.
For some of these tools (like your screen, squeegee, emulsion, or UV lamp) you might want a bit more explanation. For those, just click on the tool name to dive deeper. For simpler items (like tape or glass), you’ll find all the information you need right here.
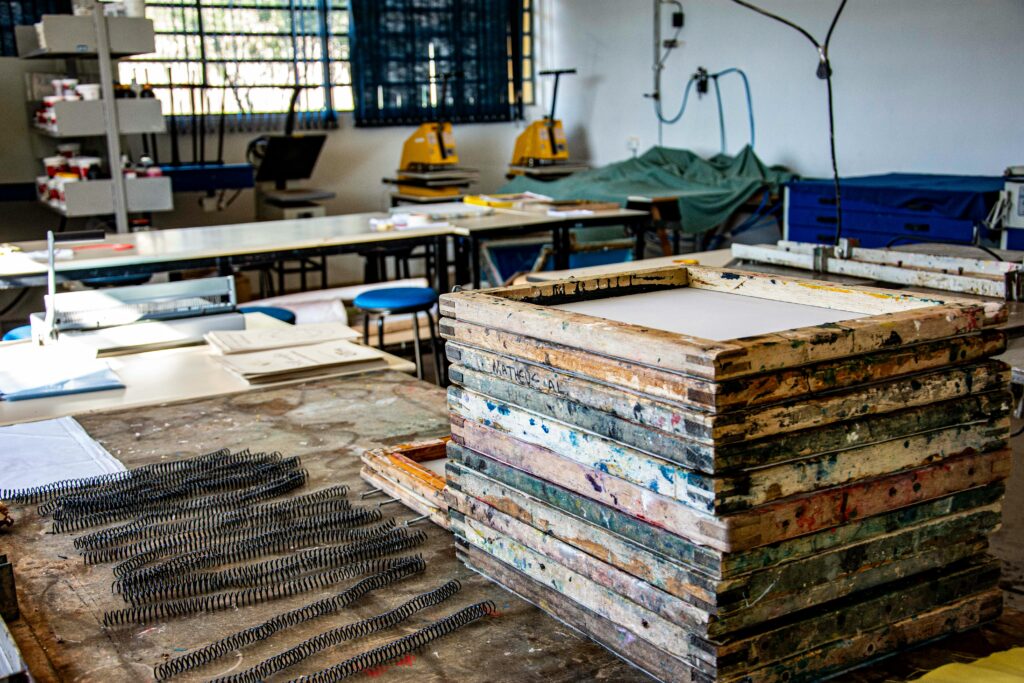
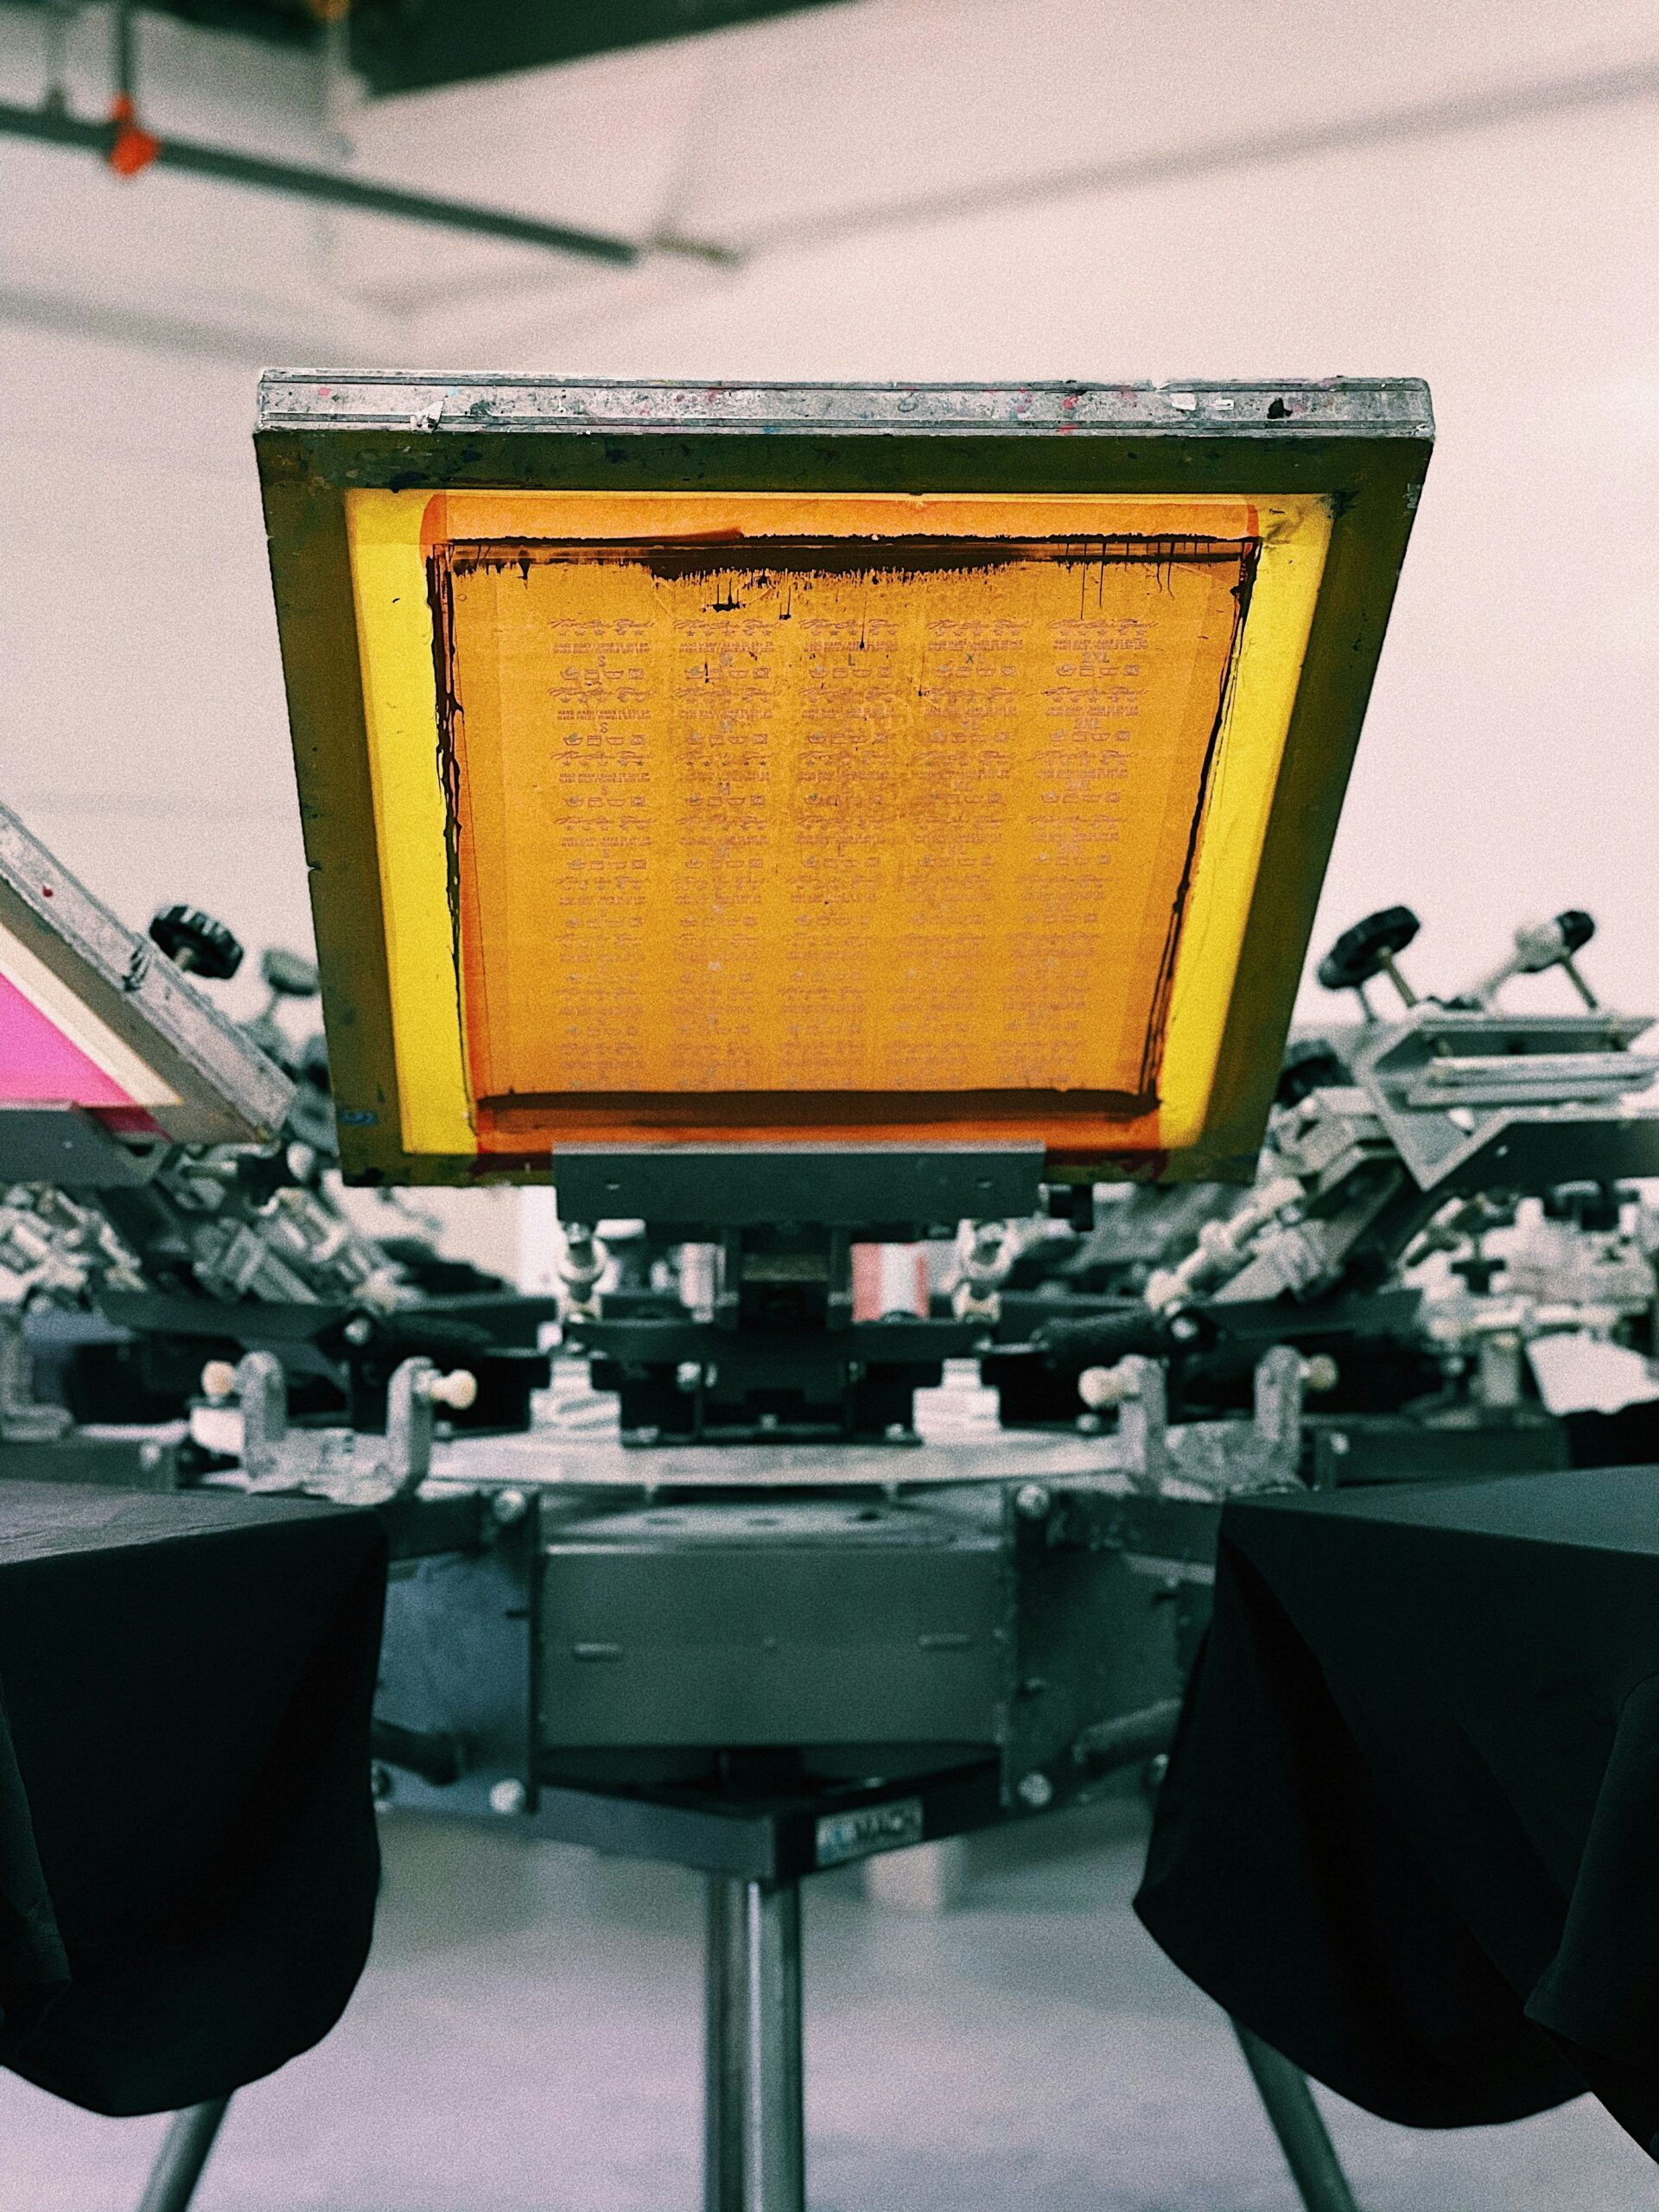
1. Screen
A screen is a wooden or aluminum frame with a fine mesh stretched across it. When coated with emulsion and exposed with your design, it becomes the stencil that lets ink pass through only where your artwork is.
2. Scoop Coater
A scoop coater spreads emulsion evenly. Without it, your coating is uneven and your stencil won’t expose properly.
3. Squeegee
This is a rubber blade with a handle used to push ink through the screen and onto your material. You’ll use it a lot, a squeegee being basically your paintbrush.
4. Emulsion
This light-sensitive liquid hardens during UV exposure, creating your stencil. The type of emulsion you use affects sharpness and durability.
5. Transparencies
These are clear sheets printed with your design in solid black, used to block light during exposure. They’re how your artwork transfers to the screen.
It’s very important that the transparencies you use are meant for the type of printer you use.
6. Printer
Used to print your designs onto transparencies. Dark, opaque prints are key to a clean stencil, so inkjet or laser printers work best.

7. UV Lamp
Exposes your screen so the emulsion hardens around your design. Without it, your stencil won’t hold.
8. Glass
A simple but important tool: glass (usually from a photo frame) keeps your transparency pressed flat against the emulsion during exposure for sharper stencils. Make sure your glass is the same dimension or bigger than the screen you’re using.
The glass being smaller will create unwanted lines in your final print.
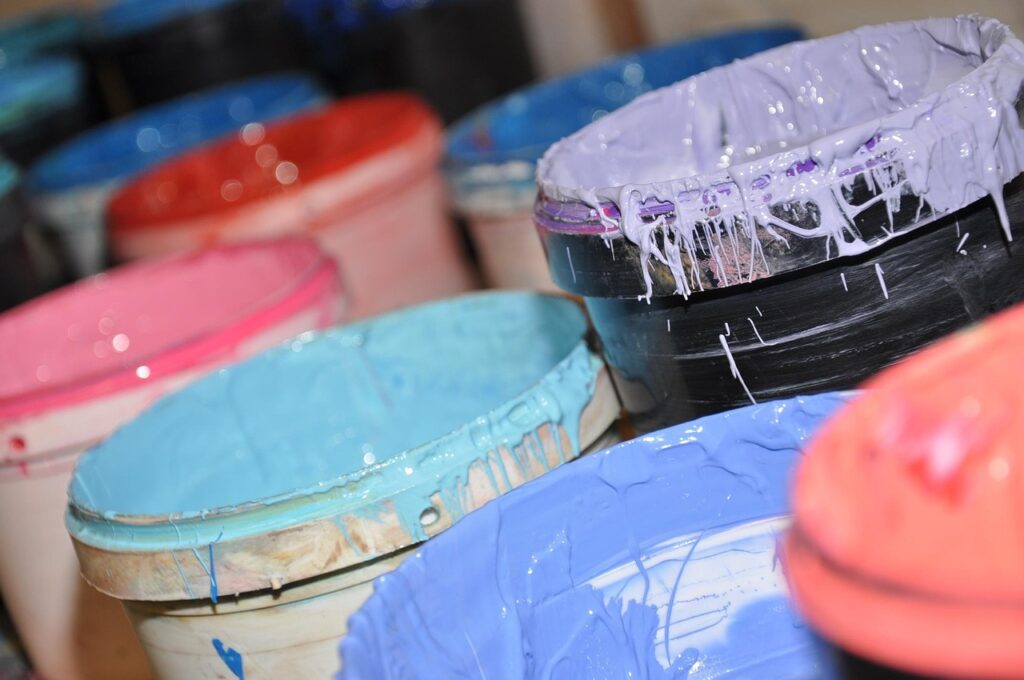
Start with water-based ink (easy cleanup, softer prints). Plastisol is stronger but requires more curing equipment.
10. Tape
Masking or screen tape blocks the edges of your screen and covers pinholes, so ink doesn’t leak.
11. Heat Source
After printing, ink must be cured. For water-based inks most of the time an iron will do the job, but for plastisol inks you’ll need a heat gun or a press. Which is why I’d recommend to stick to water-based inks.
Wrapping it up
With these 11 screen printing tools, you’ll be ready to go from design to finished print without surprises. Some of these tools are simple enough to explain in a sentence or two. Others, like emulsion, transparencies, or UV exposure, need more detail, which is why I’ve created separate guides for those.By starting with this toolkit, you’ll save yourself frustration and set yourself up for cleaner, sharper prints right from the beginning.
- Screen
- Scoop Coater
- Squeegee
- Emulsion
- Transparencies
- Printer
- UV Lamp
- Glass
- Ink
- Tape
- Heat Source