Turning Your Ideas Into Printable Designs
Now that you know what screen printing is, it’s time to create your first design. This is where your creativity meets the technical side, transforming sketches, photos, or digital ideas into artwork that can actually be printed on fabric.
In screen printing, your design isn’t just an image; it’s the blueprint for your entire print. The clearer and more contrasty it is, the easier it’ll be to expose on your screen and print sharply.
Preparing Artwork for Screen Printing
Before a design can be printed, it must be converted into a solid black stencil that can block light during the exposure process. Depending on how you like to create, there are different ways to get there:
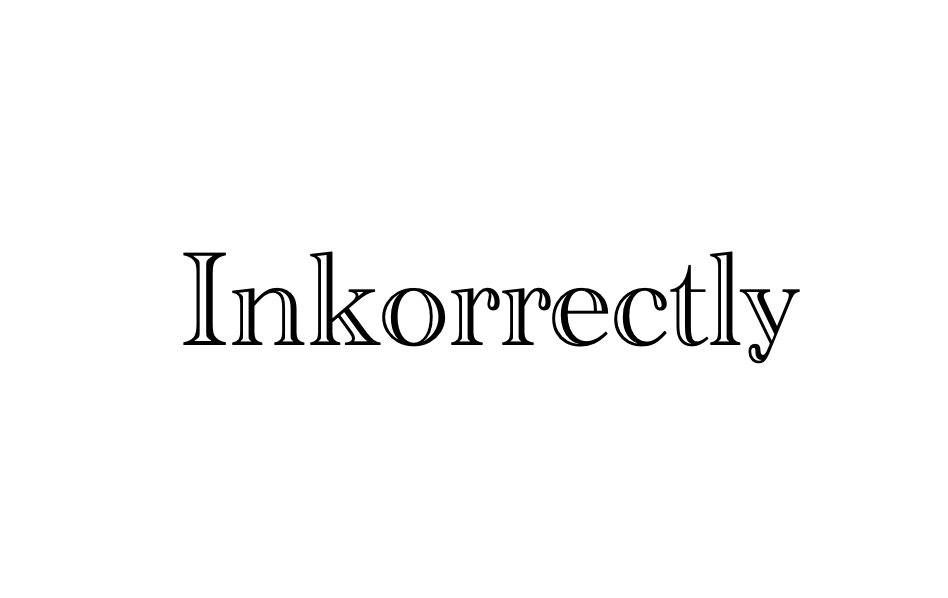
Text to Print
You can screen print any text design as long as it’s black on a white background, the screen only needs to read solid black areas to transfer your artwork. You can use any font, handwriting, or vector text, just make sure it’s high contrast and sharp (no gray or color tones). Keep it simple: black = print area, white = empty space.
Photoshop Halftones
Halftones are perfect for turning photos or gradients into a dot pattern that can be screen printed. In Photoshop, you’ll convert your image to grayscale, then to a bitmap using the “Halftone Screen” option, adjusting frequency and angle depending on your design. It may take a few tries to get the dot size right, but once you do, it gives your prints amazing texture and depth.
Wanna know how to do it? Watch this tutorial!
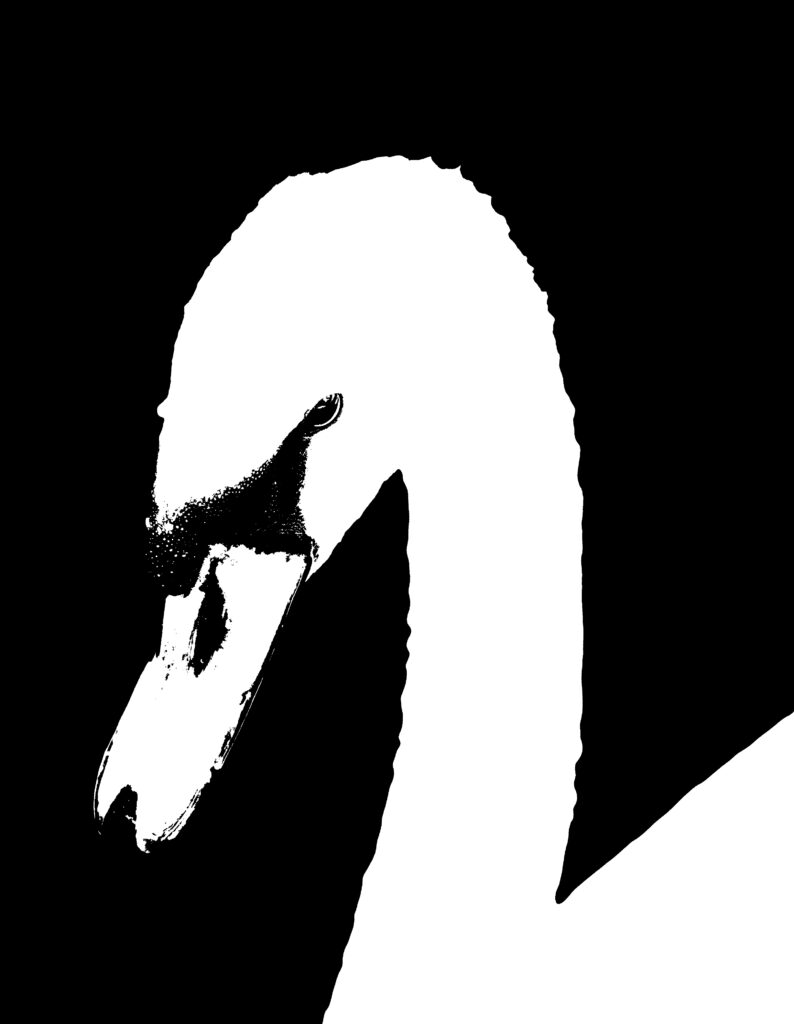
Photoshop Threshold
Threshold is a key step for turning your artwork into a clean, high-contrast stencil ready for printing. It’s not just about using Image → Adjustments → Threshold — the process involves preparing your image properly first: removing the background, adjusting brightness and contrast, and fine-tuning the black-and-white balance so every line stays sharp when burned onto the screen. It’s the best way to transform photos, drawings, or detailed designs into bold, print-ready artwork.
Wanna know how to do it? Watch this tutorial!
Understanding Design Requirements
To make your artwork print-ready, there are a few key rules to follow:
- Black means ink. Anything black in your design is where the ink will pass through the screen.
- High contrast is essential. Avoid grey tones unless you’re creating halftones.
- Keep it bold. Fine details can get lost in the mesh, so start simple until you’ve practiced more.
- Size it right. Make sure your artwork fits comfortably within your screen size and placement area on the shirt.
If you’re using digital tools like Photoshop, Procreate, or Illustrator, you can work in pure black (RGB 0,0,0) on a white background and export your final design as a .PNG or .PDF.
Once your artwork is finalized and in black and white, it’s time to print it onto a transparency, the film you’ll use to transfer your design during exposure.
To learn about the best printers and transparency films for screen printing, click on smudge and he’ll take you to it!