From screen to fabric
Your screen is exposed, your stencil is crisp, and now it’s time for the fun part: printing. This is where your artwork finally transfers onto fabric. Printing is simple once you get the hang of it, but getting consistent results takes a bit of practice and the right tools.
You’ll need your coated screen, squeegee, inks, and something to print on: usually a cotton T-shirt, tote bag, or hoodie. A flat, stable surface is essential for clean prints.
Setting Up Your Workspace
Start by securing your fabric in place using spray adhesive or masking tape. Make sure it’s smooth and wrinkle-free — even small folds can ruin your print.
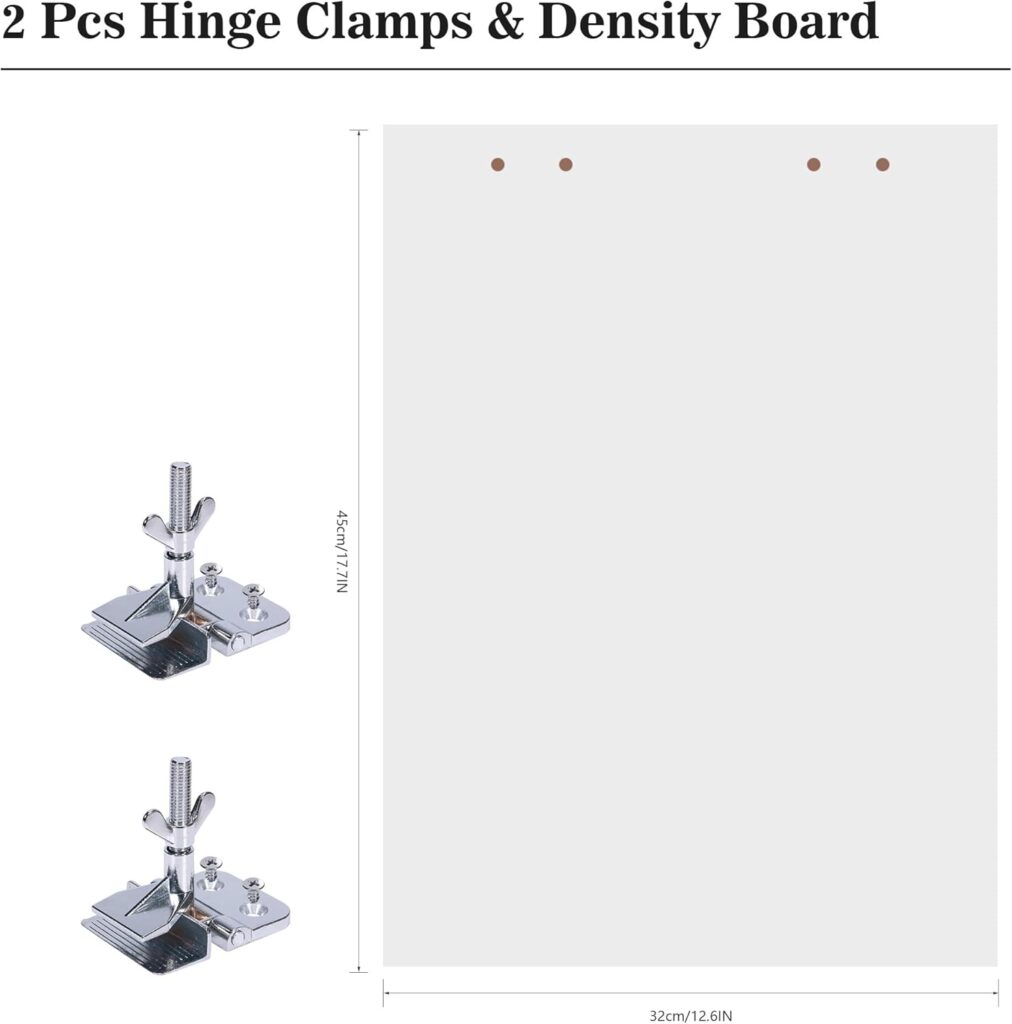
Position your screen over the design area and tape off the edges to prevent ink from leaking through unwanted spots. If you have a hinge clamp setup, like the Caydo Screen Printing Frame Kit, you can easily keep your screen aligned for multiple prints.
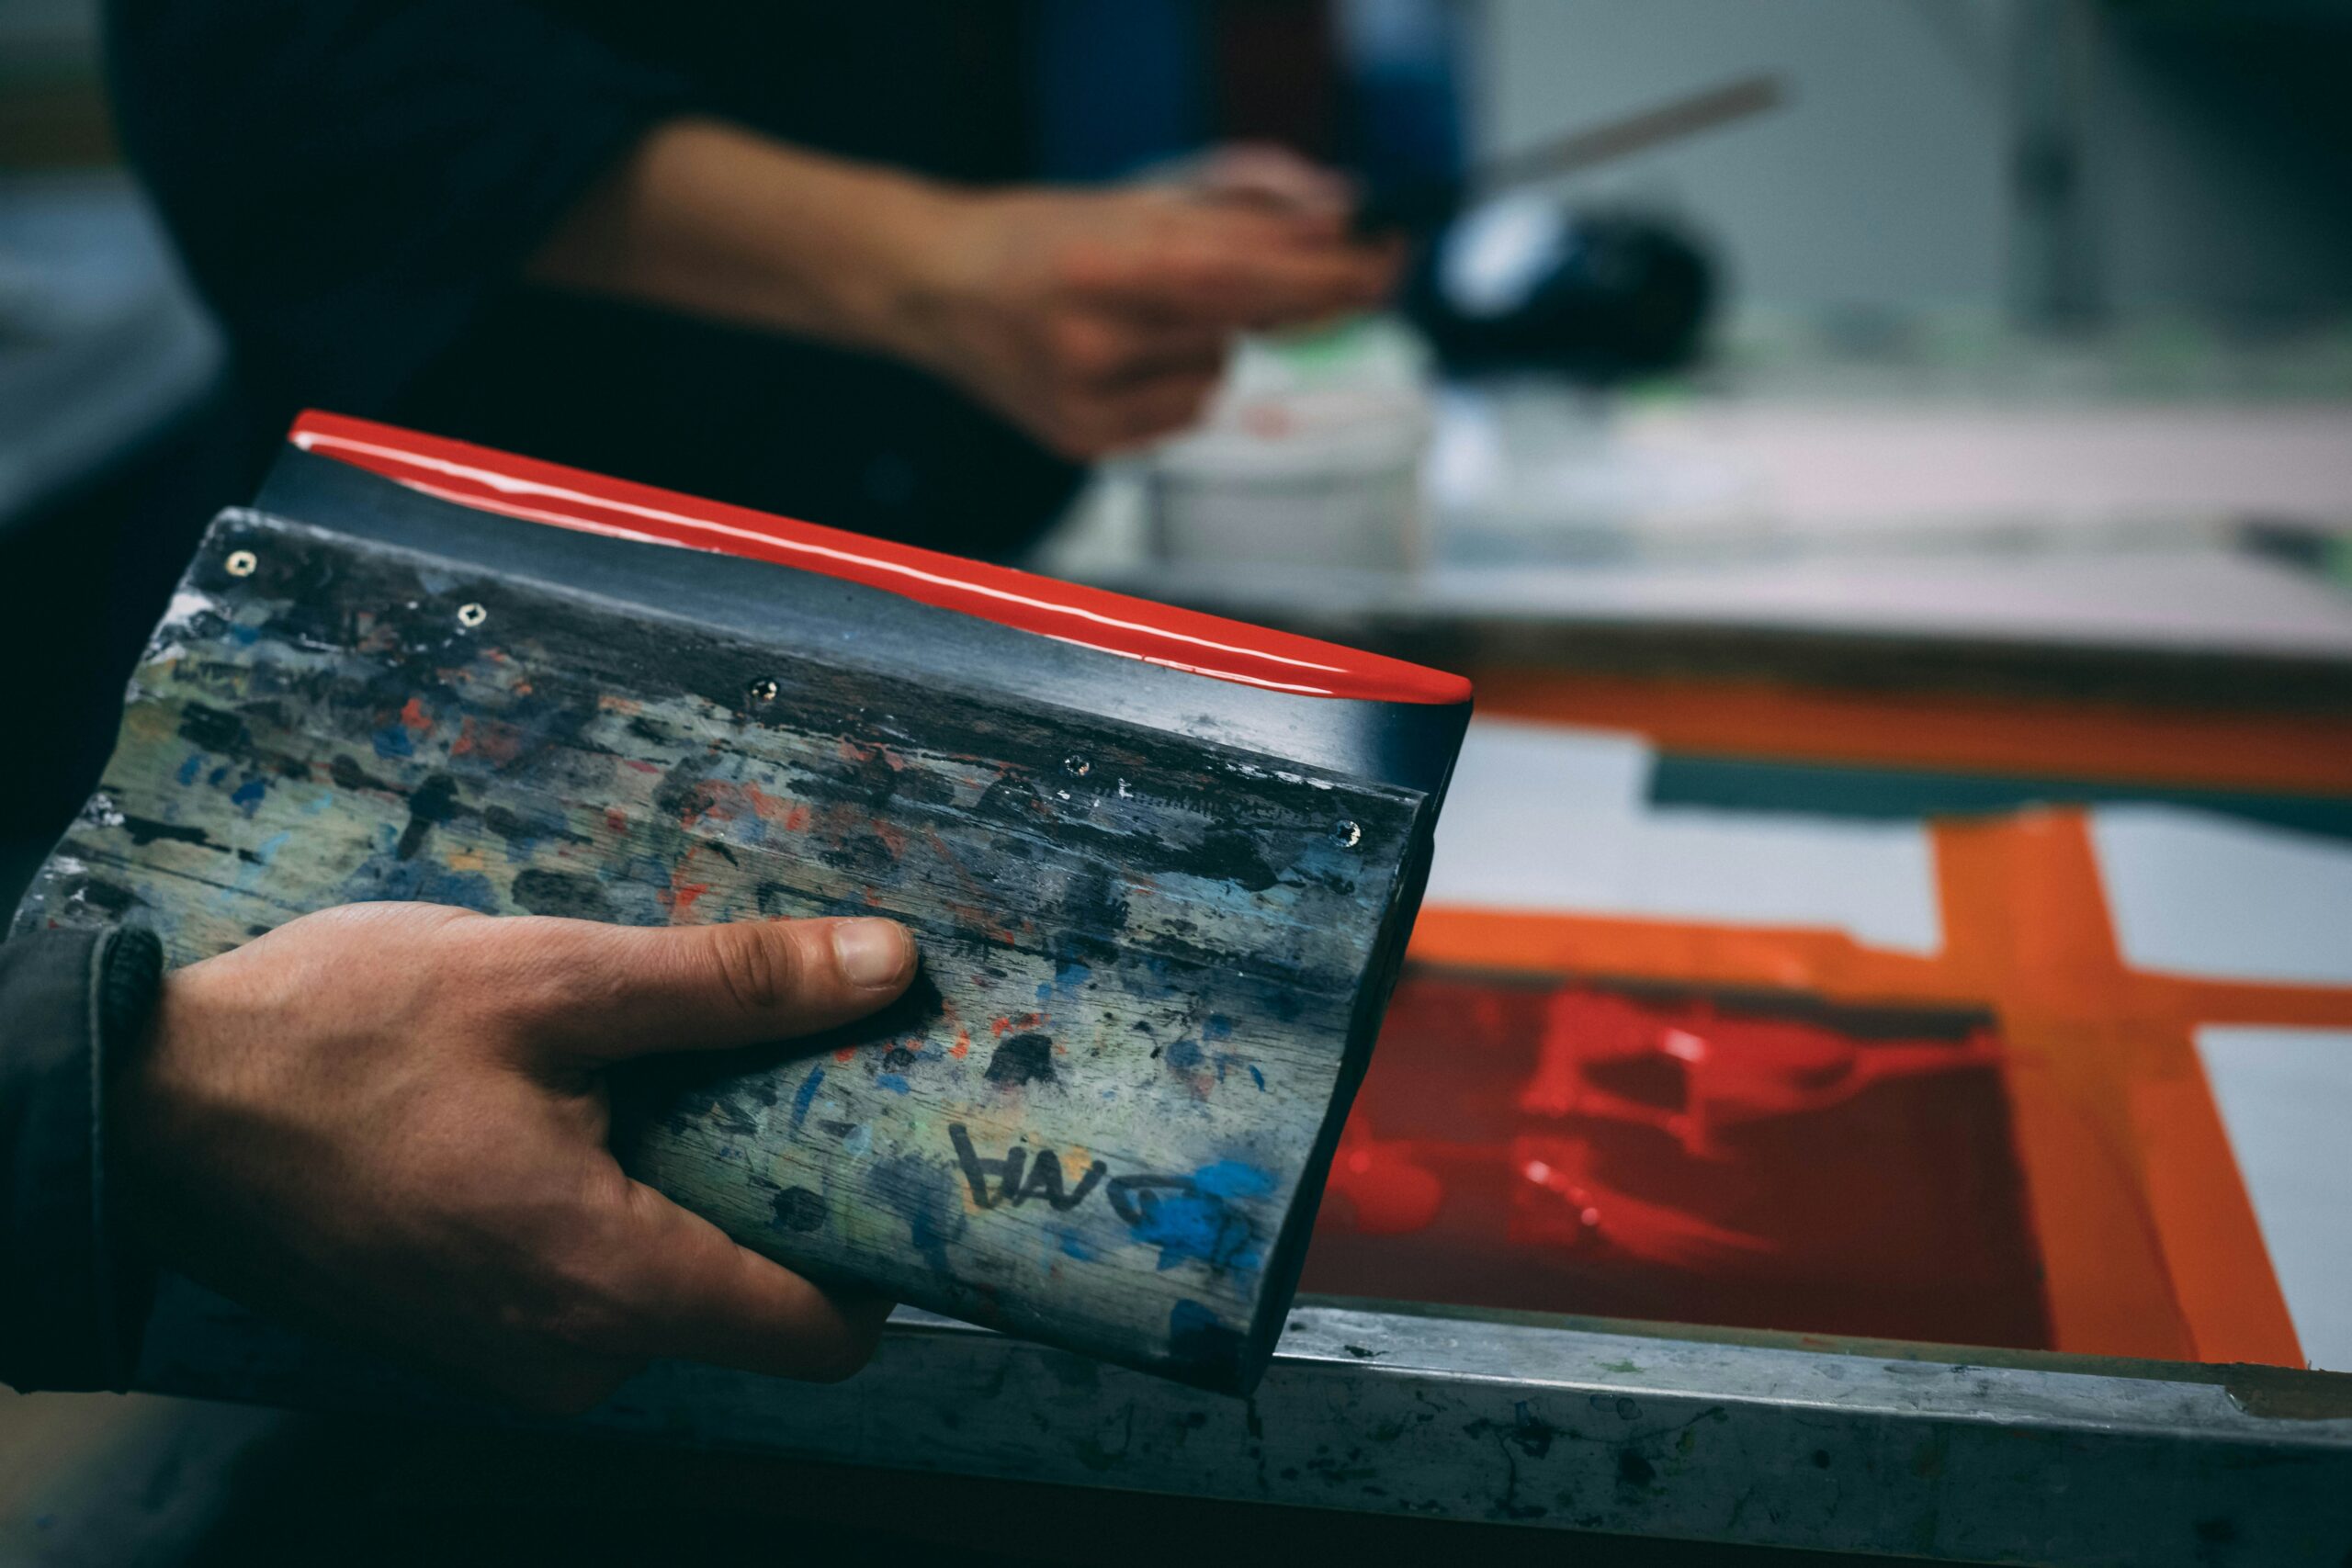
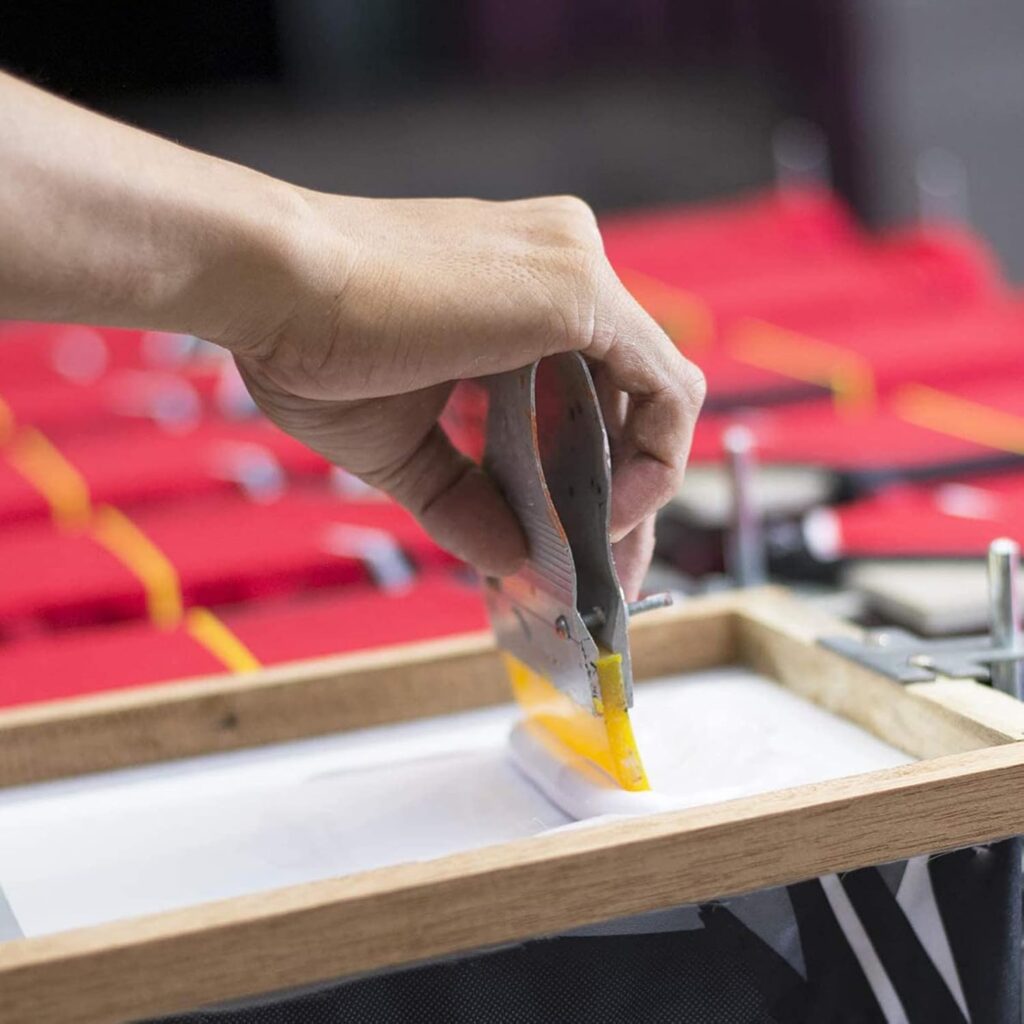
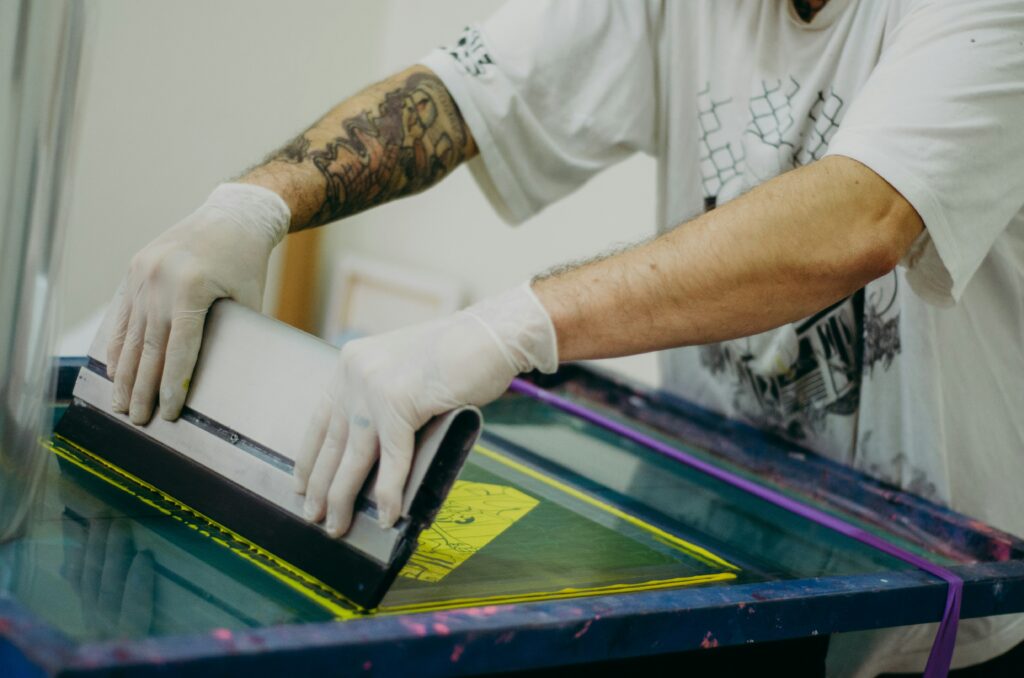
Hold the squeegee at about a 45° angle and pull the ink down with even pressure: this is your print stroke.
Checking and Drying the Print
Carefully lift the screen to reveal your print. If it looks faint, you may need slightly more pressure or a thicker ink layer next time. If it’s too heavy or bleeding, lighten your stroke.
Lay your printed piece flat and let it air dry for 15–30 minutes. Once dry to the touch, it’s ready for curing, the next step that locks the ink permanently.
Tips for a Cleaner, Sharper Print
Screen printing isn’t hard, but it’s all about small details. Here are a few tips that’ll instantly make your prints look cleaner and more consistent:
- Keep even pressure. Use both hands when pulling your squeegee so the ink spreads evenly across the whole screen. Uneven pressure causes patchy prints.
- Mind your angle. A 45° angle gives a good balance between ink deposit and control.
- Flood the screen before high mesh count screens. Make one light pass of ink without pressure before printing for screens with higher mesh counts.
- Clean as you go. Ink can dry fast, especially water-based ones. Wipe your screen edges, squeegee, and table between prints.
- Do a test print first. Always print on a scrap piece of fabric before going onto your final garment, it helps you check alignment and ink opacity.
After your print is dry, it’s time to make it last. The next step is curing or setting the ink, where you’ll use heat (iron, heat press, or heat gun) to bond the pigment to the fabric. Click Smudge to find out what’s that about!