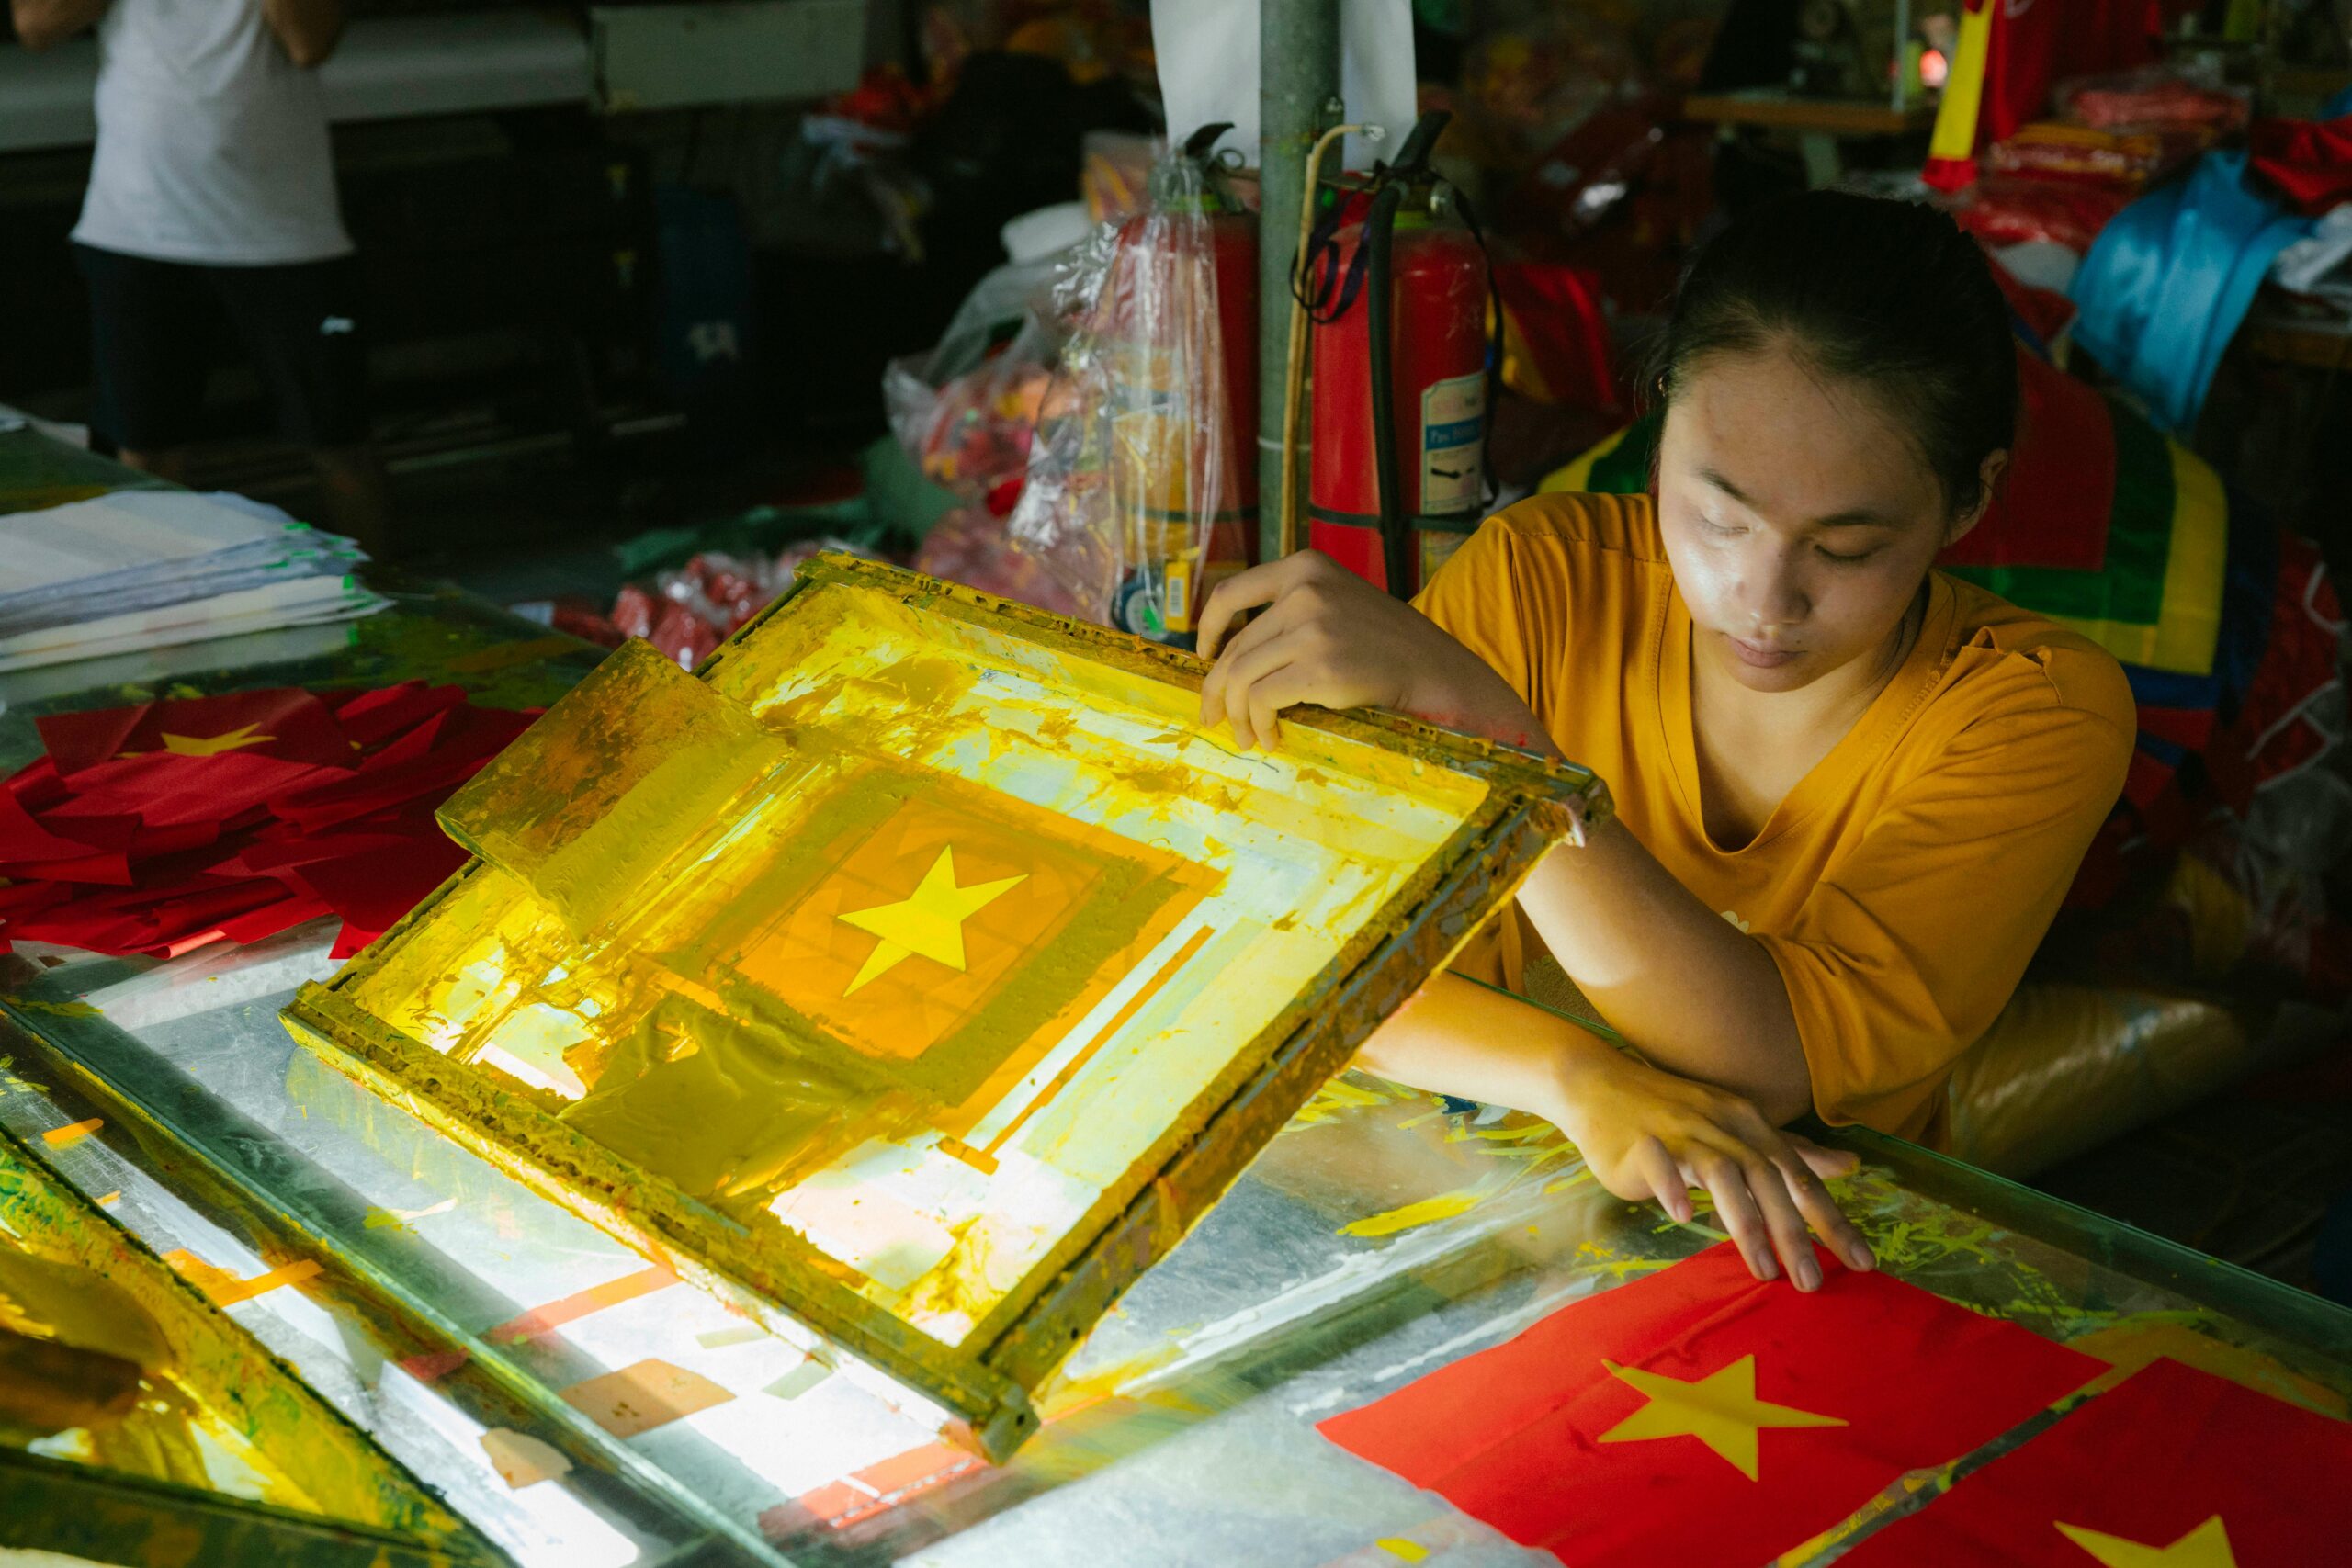
What Is a Screen Printing screen?
A screen printing screen is pretty much your stencil base: a mesh fabric stretched tightly over a frame. The mesh is where you expose or block out the parts of your design, and when you push ink through, it flows through those unblocked areas onto whatever you’re printing (like fabric, paper, etc.)
Some key things about the mesh + frame combo:
- Tension matters. If the mesh isn’t tight, you’ll get blurry or uneven prints.
- The mesh fabric needs to be fixed well so it doesn’t sag or get loose after cleaning.
- Different materials are used for mesh (polyester, etc.), and the opening size (mesh count) will control how much ink passes through, how fine your detail can be, etc.
Some people often mention that beginners confuse screens with other tools, but once you understand that the screen + mesh combo is what “filters” your design, everything else (inks, squeegees, curing) becomes more meaningful.
Frames: wood vs. aluminum
One of the first choices you’ll face when buying screens is deciding between wooden or aluminum frames. Both work, but they come with different strengths and weaknesses that can affect your printing experience.
Wooden frames are usually the cheaper option, which makes them appealing if you’re just starting out. They’re easy to find, and if you only plan to print occasionally, they’ll do the job just fine. The downside is that wood is more vulnerable to moisture and cleaning chemicals. Over time, this can cause the frame to warp slightly, which reduces the tension of the mesh and makes your prints less sharp. For short-term use or for someone experimenting at home, though, they’re a budget-friendly way to get started.
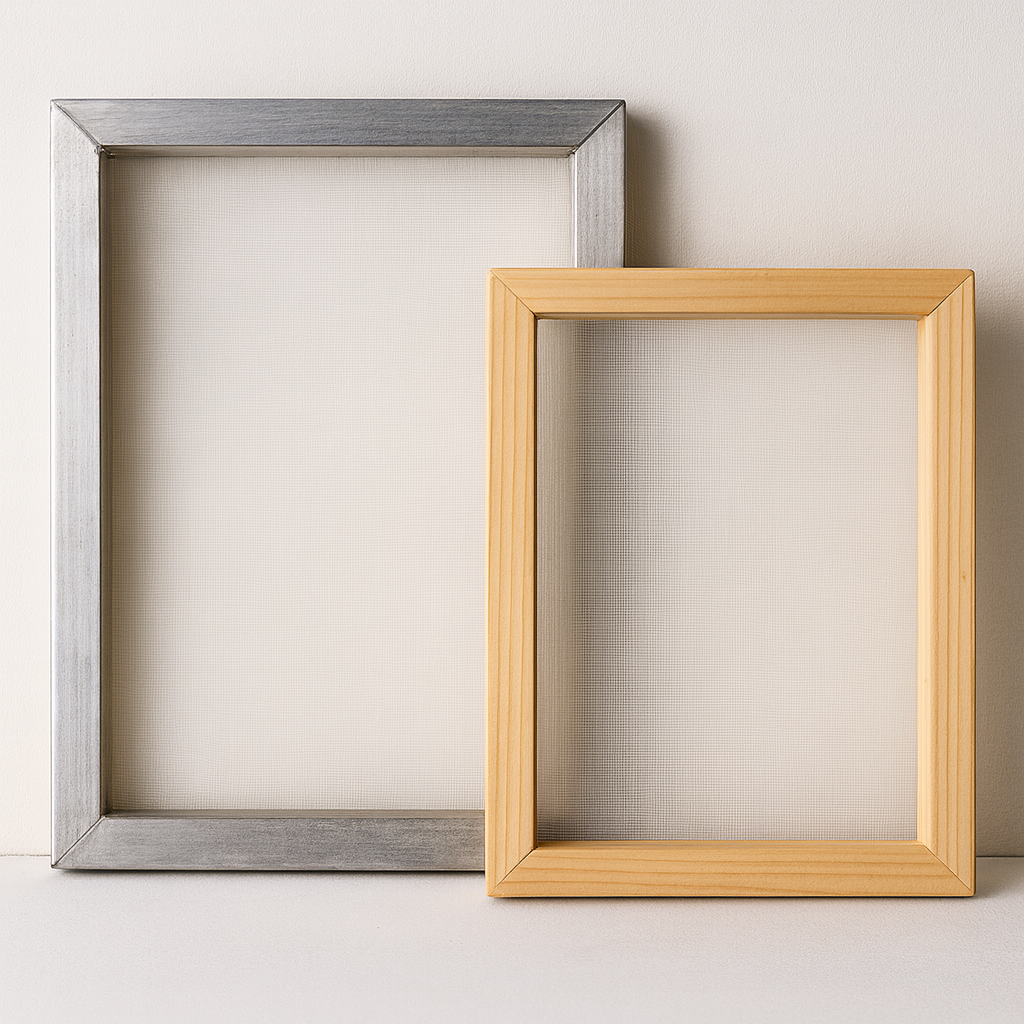
Aluminum frames, on the other hand, are more of a long-term investment. They cost more upfront, but they hold their shape much better and keep mesh tension more consistent after repeated use and cleaning. Many experienced printers prefer aluminum because they don’t warp, they’re easier to clean, and they last much longer than wood. If you plan on printing regularly, or even turning your hobby into a side hustle, aluminum is worth the upgrade.
For most beginners, the best approach is to start with one or two wooden frames. They’ll give you the chance to practice without spending too much. Once you’ve printed a few projects and know you want to stick with it, you can start adding aluminum frames to your setup for better durability and consistency.
Mesh Count & Detail
One of the trickiest parts for beginners is figuring out what mesh count to pick. Mesh count basically refers to how many threads (openings) are woven through one square inch of mesh in the screen. More threads mean finer detail and thinner ink deposit; fewer threads mean more ink can pass through, which is good for bold designs.
- A lot of people recommend ~156 mesh as a versatile middle-ground. It handles solid colors decently, lets enough ink through for coverage, but still picks up okay detail.
- For finer detail work (halftones, fine lines, small logos), many suggest going up to 200-230 mesh or higher. But be aware: with higher mesh counts, if you use thicker ink, you might not get enough ink deposit, and prints may look faded or weak.
- For bold prints, heavy inks, or designs with large solid fills (e.g. big text, block colors), lower mesh counts like 110 are often recommended. These allow more ink flow and better opacity in fewer passes
- Some users warn that if you use too high mesh count with thick inks, you’ll struggle with clogging, slow printing, or needing extra passes. Also exposure times change: finer mesh holds less emulsion, which may affect how long (or strong) your exposure has to be.
Here’s a simple guideline for someone just starting out:
- Get a 156 mesh screen as your first go-to. It’s versatile enough for many designs, solid color work, and moderate detail.
- If you know you’ll do fine detail (like thin lettering or halftones), get one higher mesh screen (200-230 mesh).
- If you plan on using thick inks (like glitter, heavy plastisol, or metallics), also get one lower mesh (around 110) so you can get solid coverage when needed.
- Always test with your chosen ink and fabric. What looks good on one material with one ink might not work well on another.
Size matters
When you’re choosing your first screen, size makes a big difference in how easy it is to learn. While larger frames like 20×24 inches are considered the “standard” for printing T-shirts, they can actually be a bit overwhelming when you’re just starting out. A bigger screen means more mesh to coat, more emulsion to use, and more surface area to control when pulling the squeegee, all things that can feel clumsy at the beginning.
Starting with a smaller frame, such as 12×16 inches or 16×20 inches, often makes the learning process smoother. Smaller screens are lighter, easier to handle on a tabletop, and require less ink and emulsion, which keeps your costs down while you’re practicing. They’re also perfect for simple projects like small logos, chest prints, or tote bags. Once you get the hang of coating, exposing, and pulling ink smoothly, moving up to a larger 20×24 frame will feel much more natural.
Think of smaller screens as your training ground. They allow you to make mistakes, learn control, and gain confidence without wasting a lot of materials. As soon as you’re comfortable and ready for bigger designs , like full front prints on T-shirts or large artwork on hoodies , that’s the right time to add a standard 20×24 screen to your toolkit.
So what screens you should go for?
Recommended screens
Wood frame:
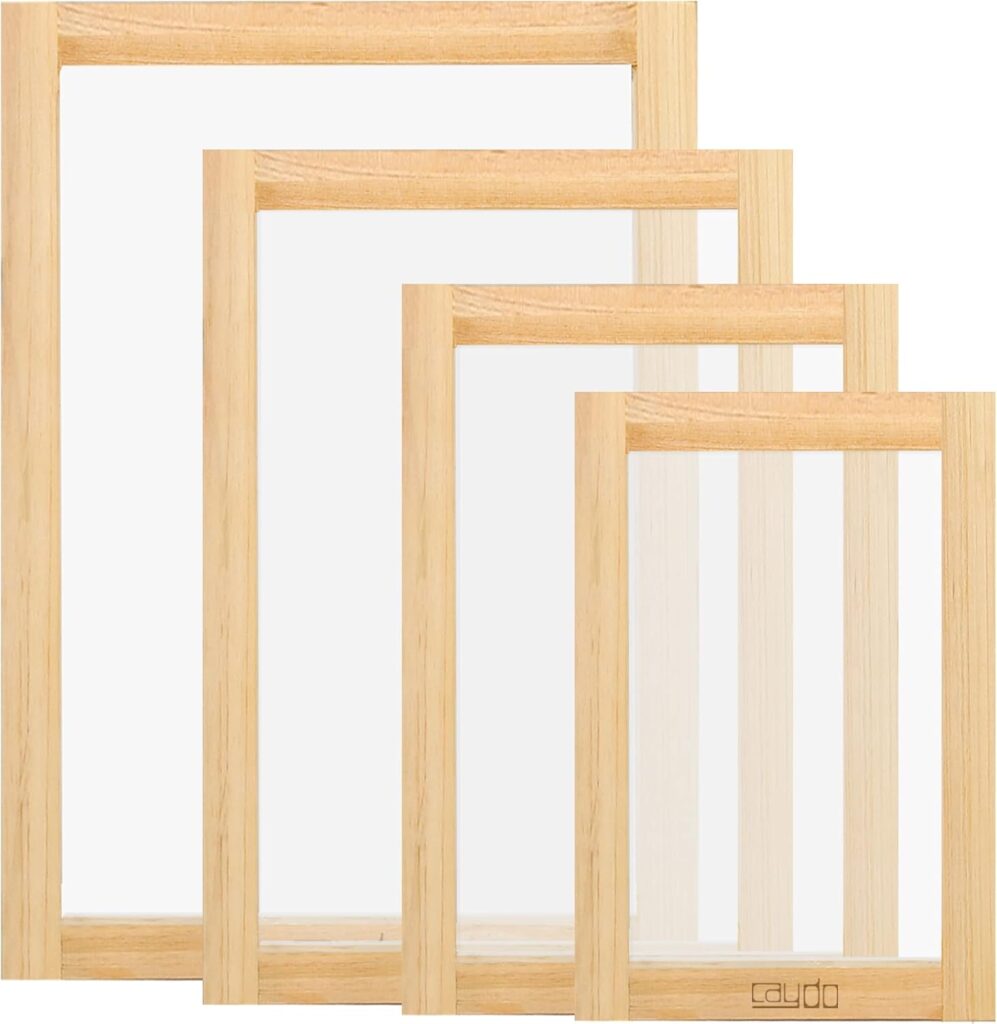
Caydo 4 Pieces 4 Size Screen Printing Frame
110 Mesh for Screen Printing Beginners and Kids, 9 x 5.1 Inch, 10.6 x 6.7 Inch, 12.2 x 8.2 Inch, 14 x 10 Inch
$26.99
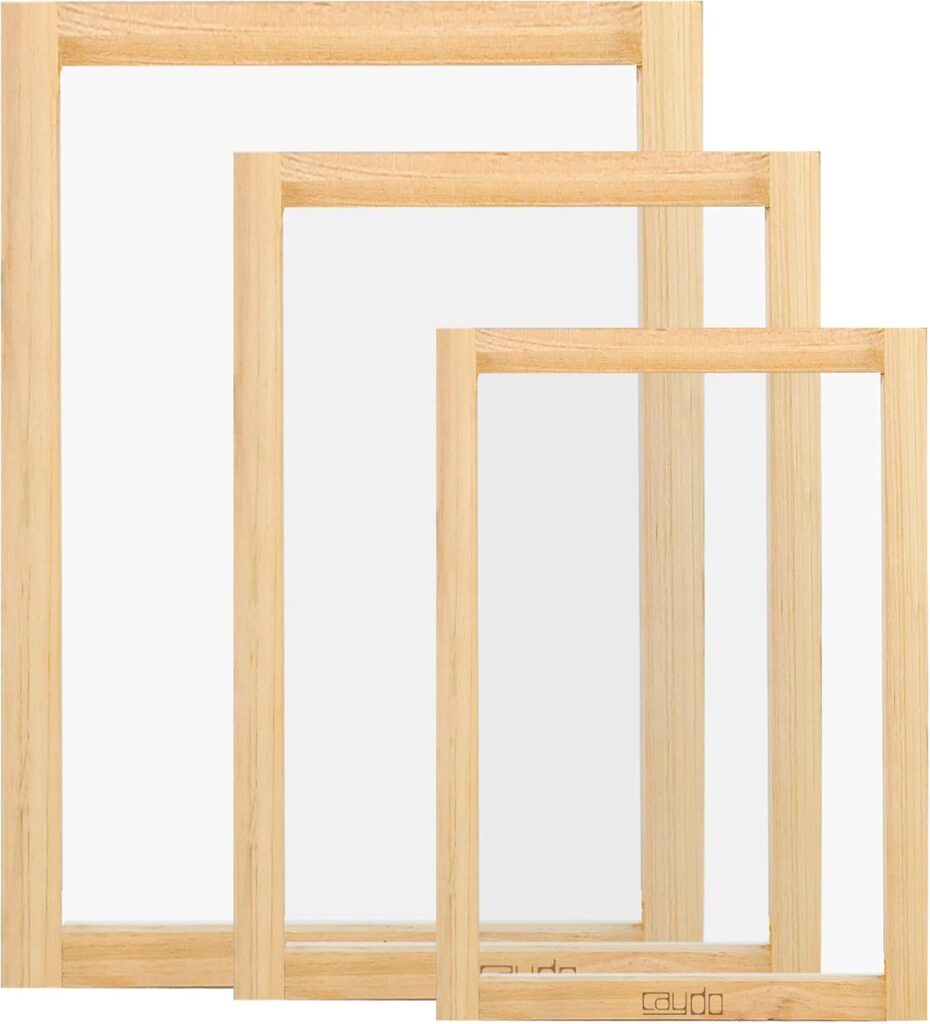
Caydo 3 Pieces 3 Size Wood Silk Screen Printing Frame
with Mesh for Screen Printing, 10 x 14 Inch, 8.2 x 12.2 Inch, 6.7 x 10.6 Inch
$21.99
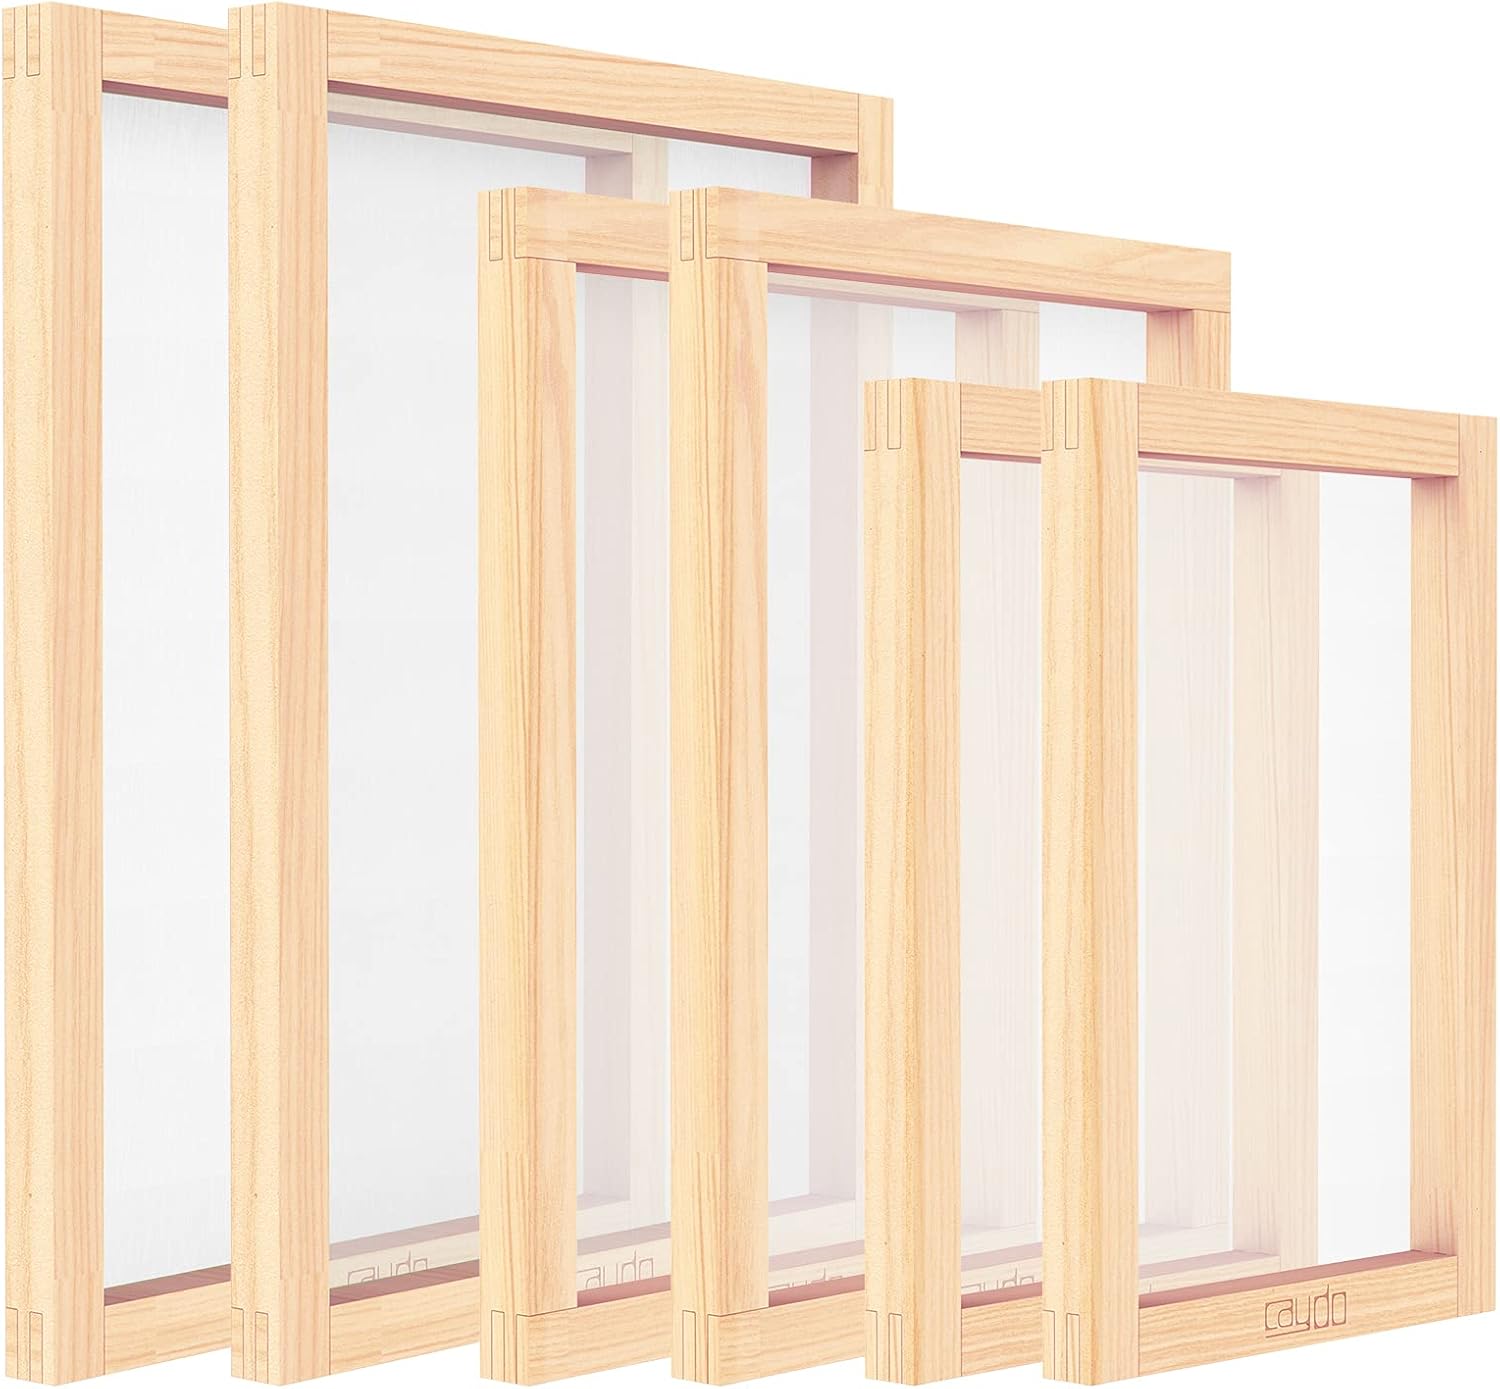
Caydo 6 Pieces 3 Size Wood Silk Screen Printing Frame
with Mesh for Screen Printing, 10 x 14 Inch, 8 x 12 Inch, 6 x 10 Inch
$36.99
Aluminium frames:
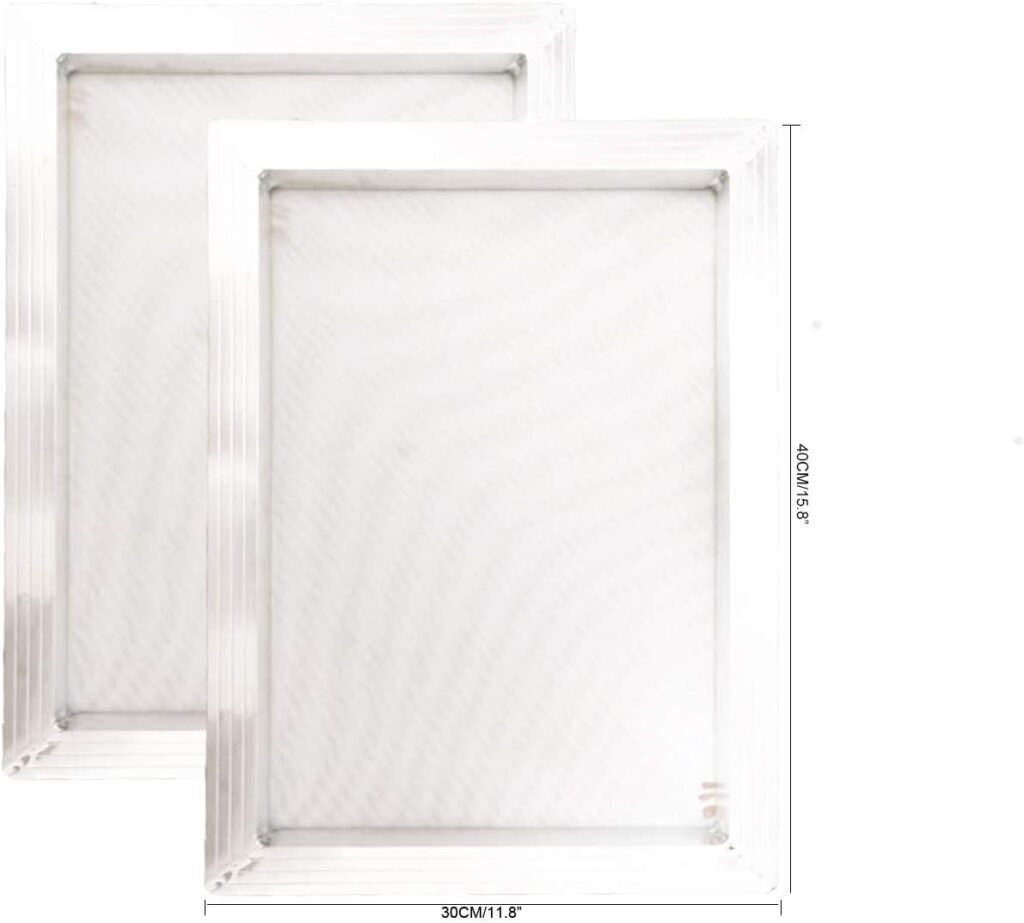
Caydo 2 Pieces Dry Sift Screen Set
10 x 14 Inch Aluminum Screen Printing Frame with 305 Yellow Mesh for Fabric and Label Printing
$35.99
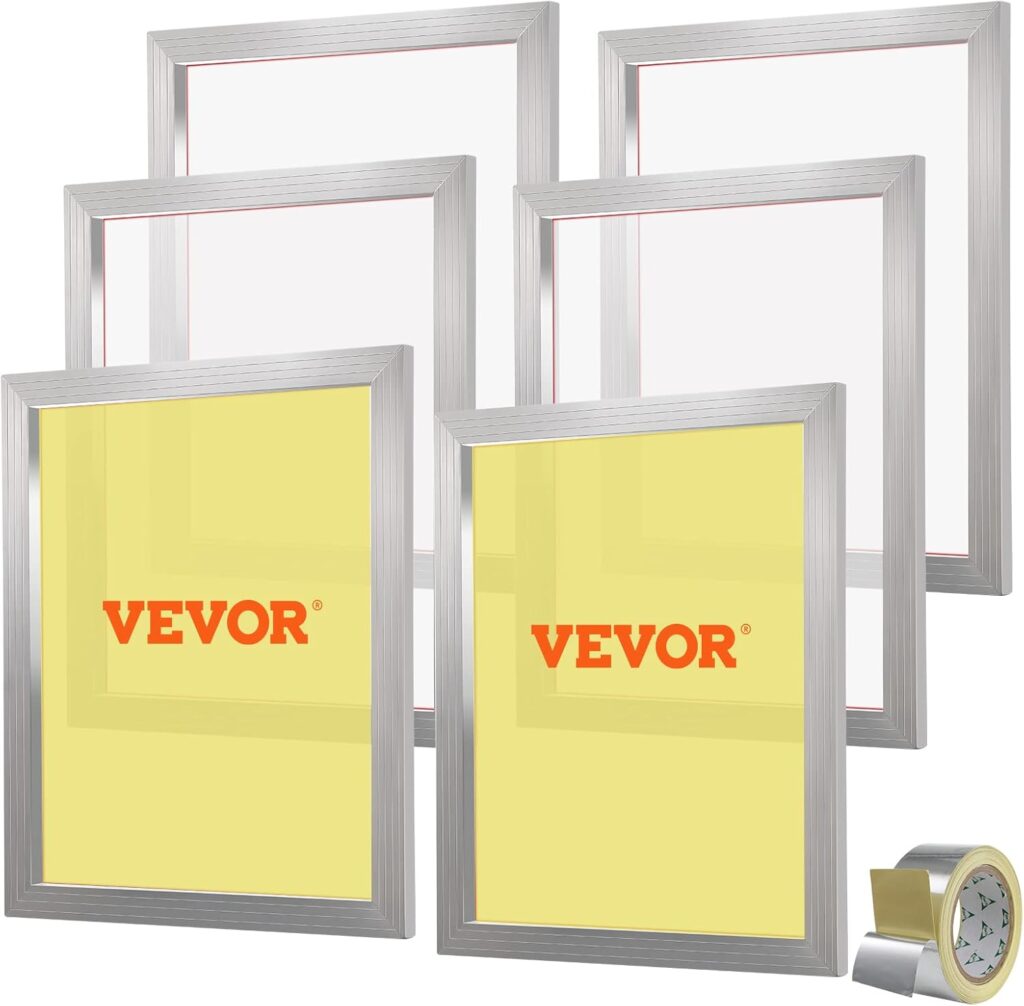
VEVOR Screen Printing Kit, 6 Pieces
Aluminum Silk Screen Printing Frames, 20x24inch Silk Screen Printing Frame with 160 Count Mesh, High Tension Nylon Mesh and Sealing Tape for T-Shirts DIY Printing
$71.99
Final thoughts
Getting started with screen printing doesn’t mean you need to buy every tool under the sun. It begins with understanding your screens, what they are, the frame material you should choose, the right mesh count for your designs, and a screen size you can actually handle comfortably.
For most beginners, that means starting small: a manageable wooden frame with a basic mesh count (around 110–156), just one or two screens to practice with, and a setup that won’t break the bank. Along the way, avoiding common mistakes like neglecting cleaning, storing screens poorly, or overcomplicating mesh counts will save you a lot of frustration. And if sustainability matters to you, learning to reclaim and reuse your screens instead of tossing them out will quickly become second nature.
As you gain experience, you’ll naturally know when it’s time to invest in aluminum frames, larger screen sizes, or finer mesh counts. But for now, the goal isn’t perfection, it’s simply to start printing. Once you see your first design come through the mesh and land on fabric, you’ll understand why screen printing is such a rewarding process.
So don’t overthink it: pick a screen that fits your budget and comfort level, set up your first project, and start experimenting. The rest will follow.